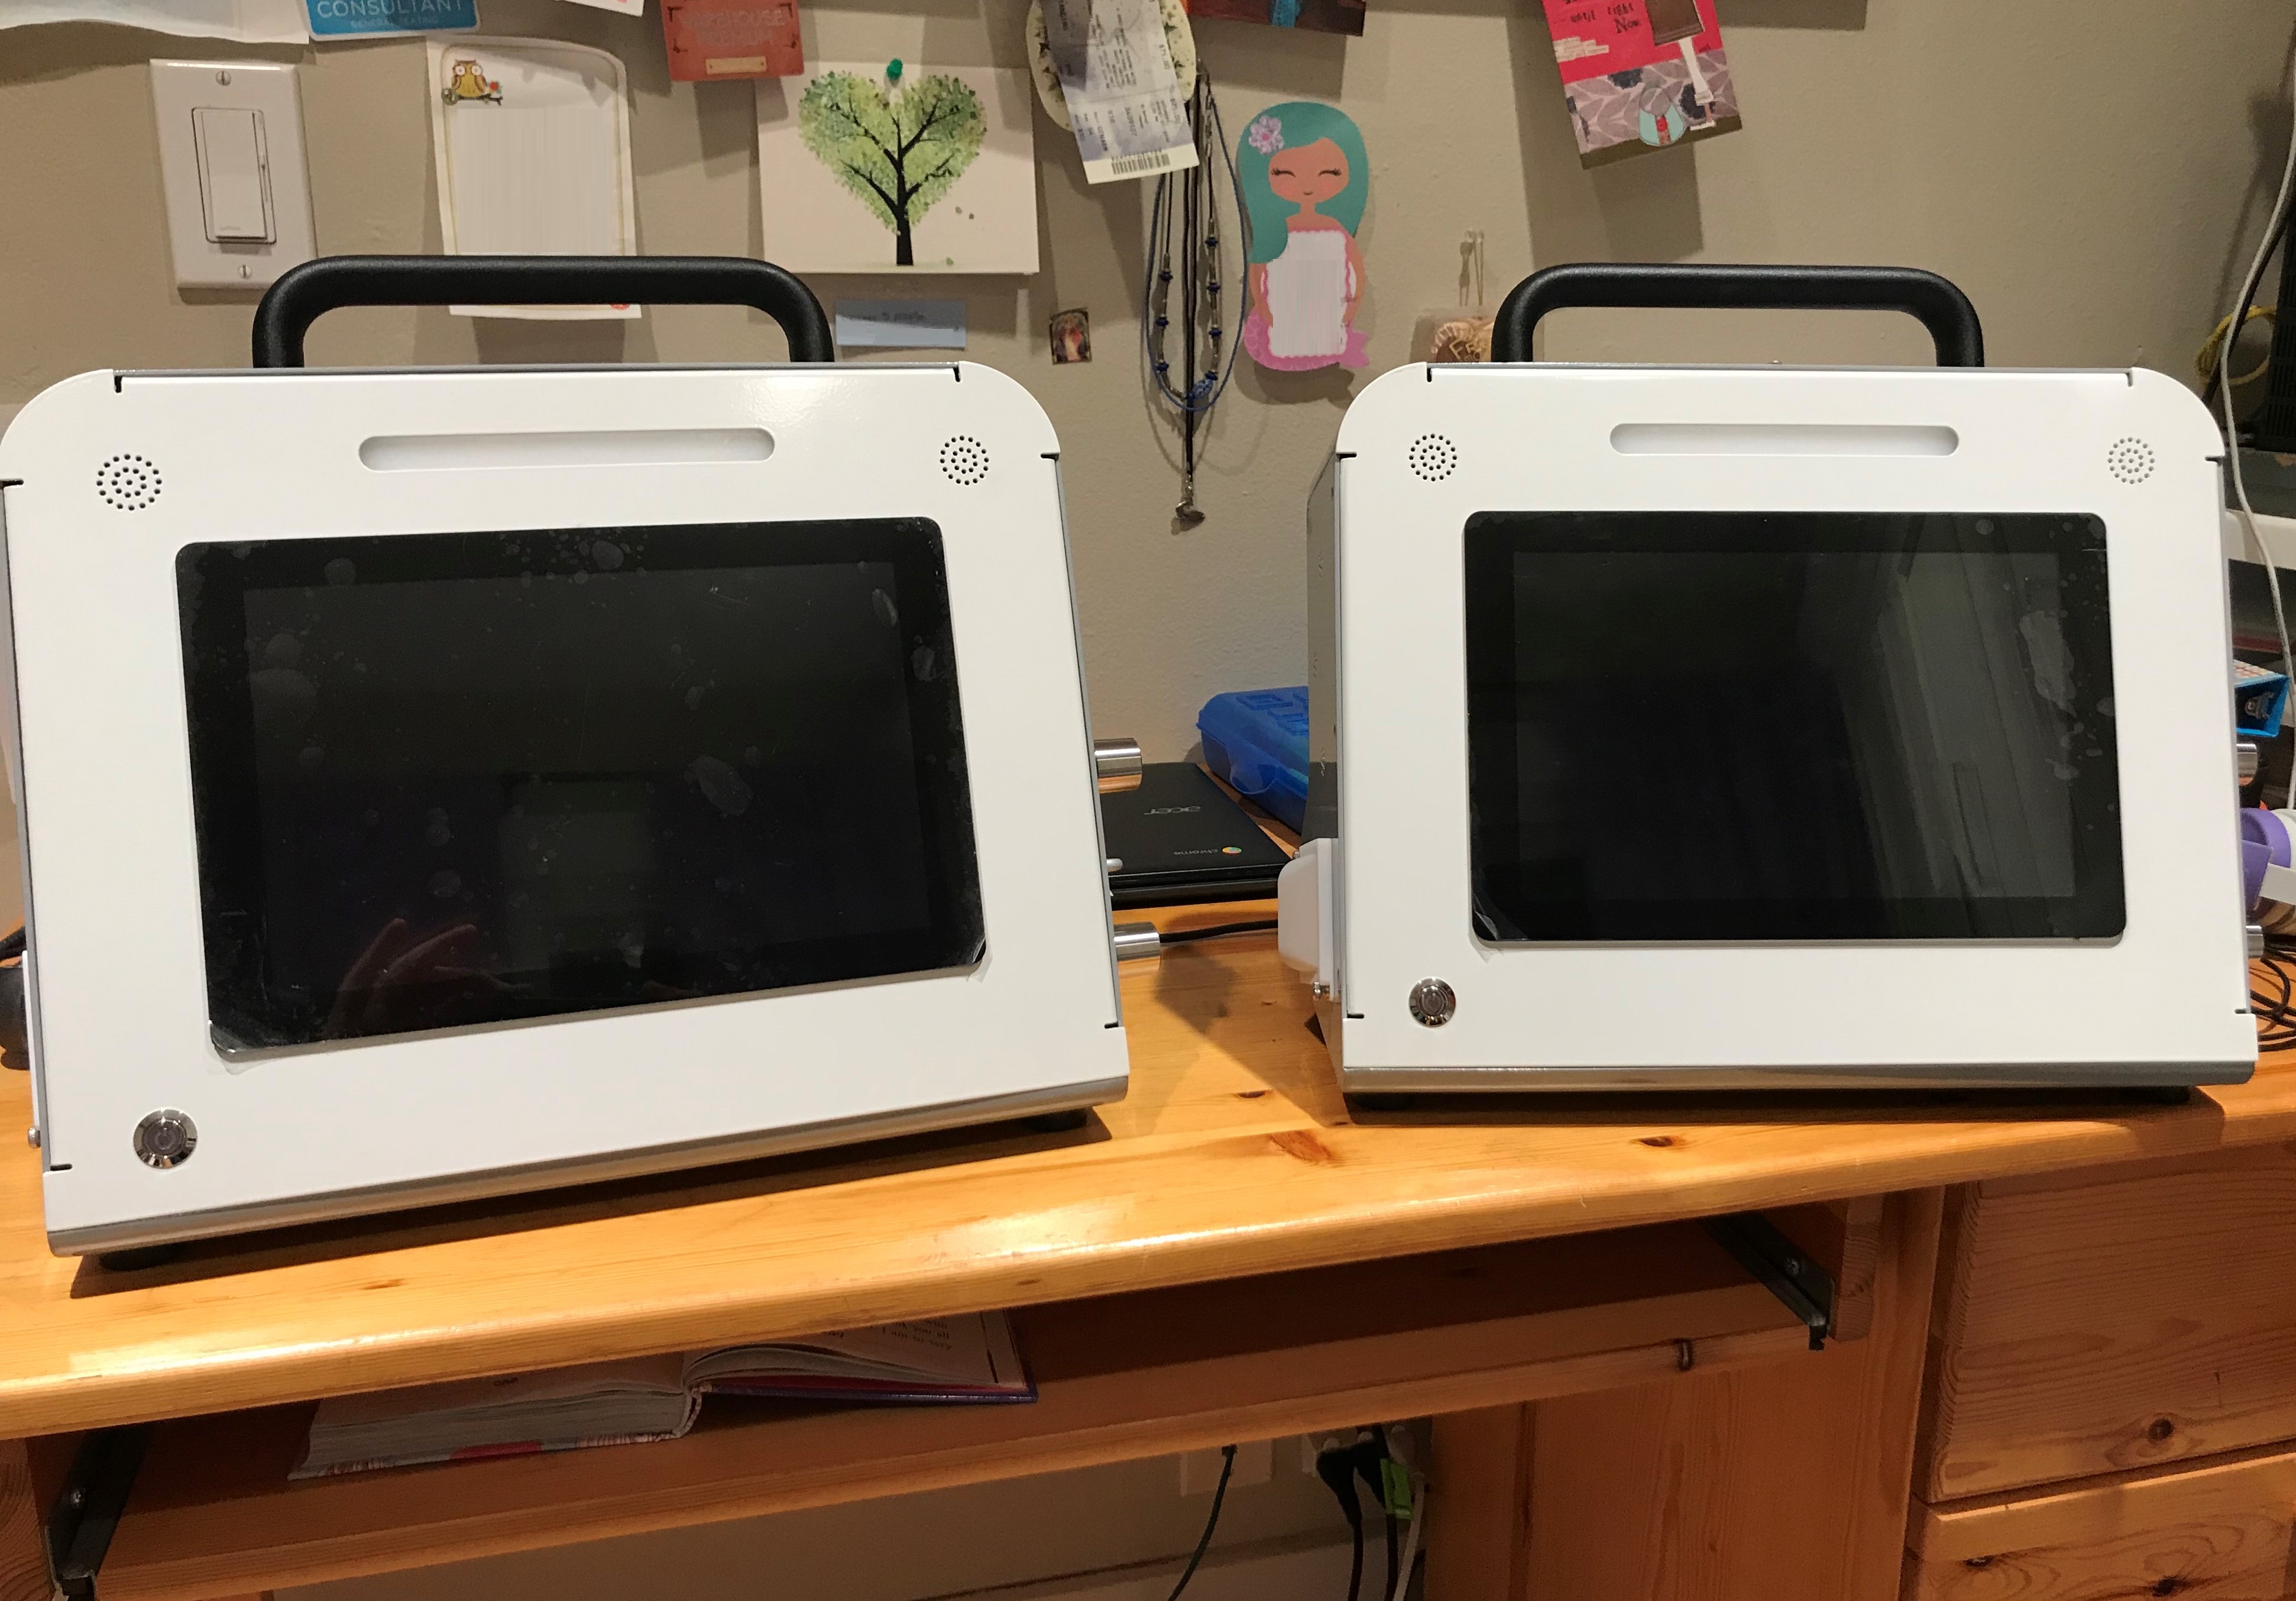
First 2 Ventilators Built!
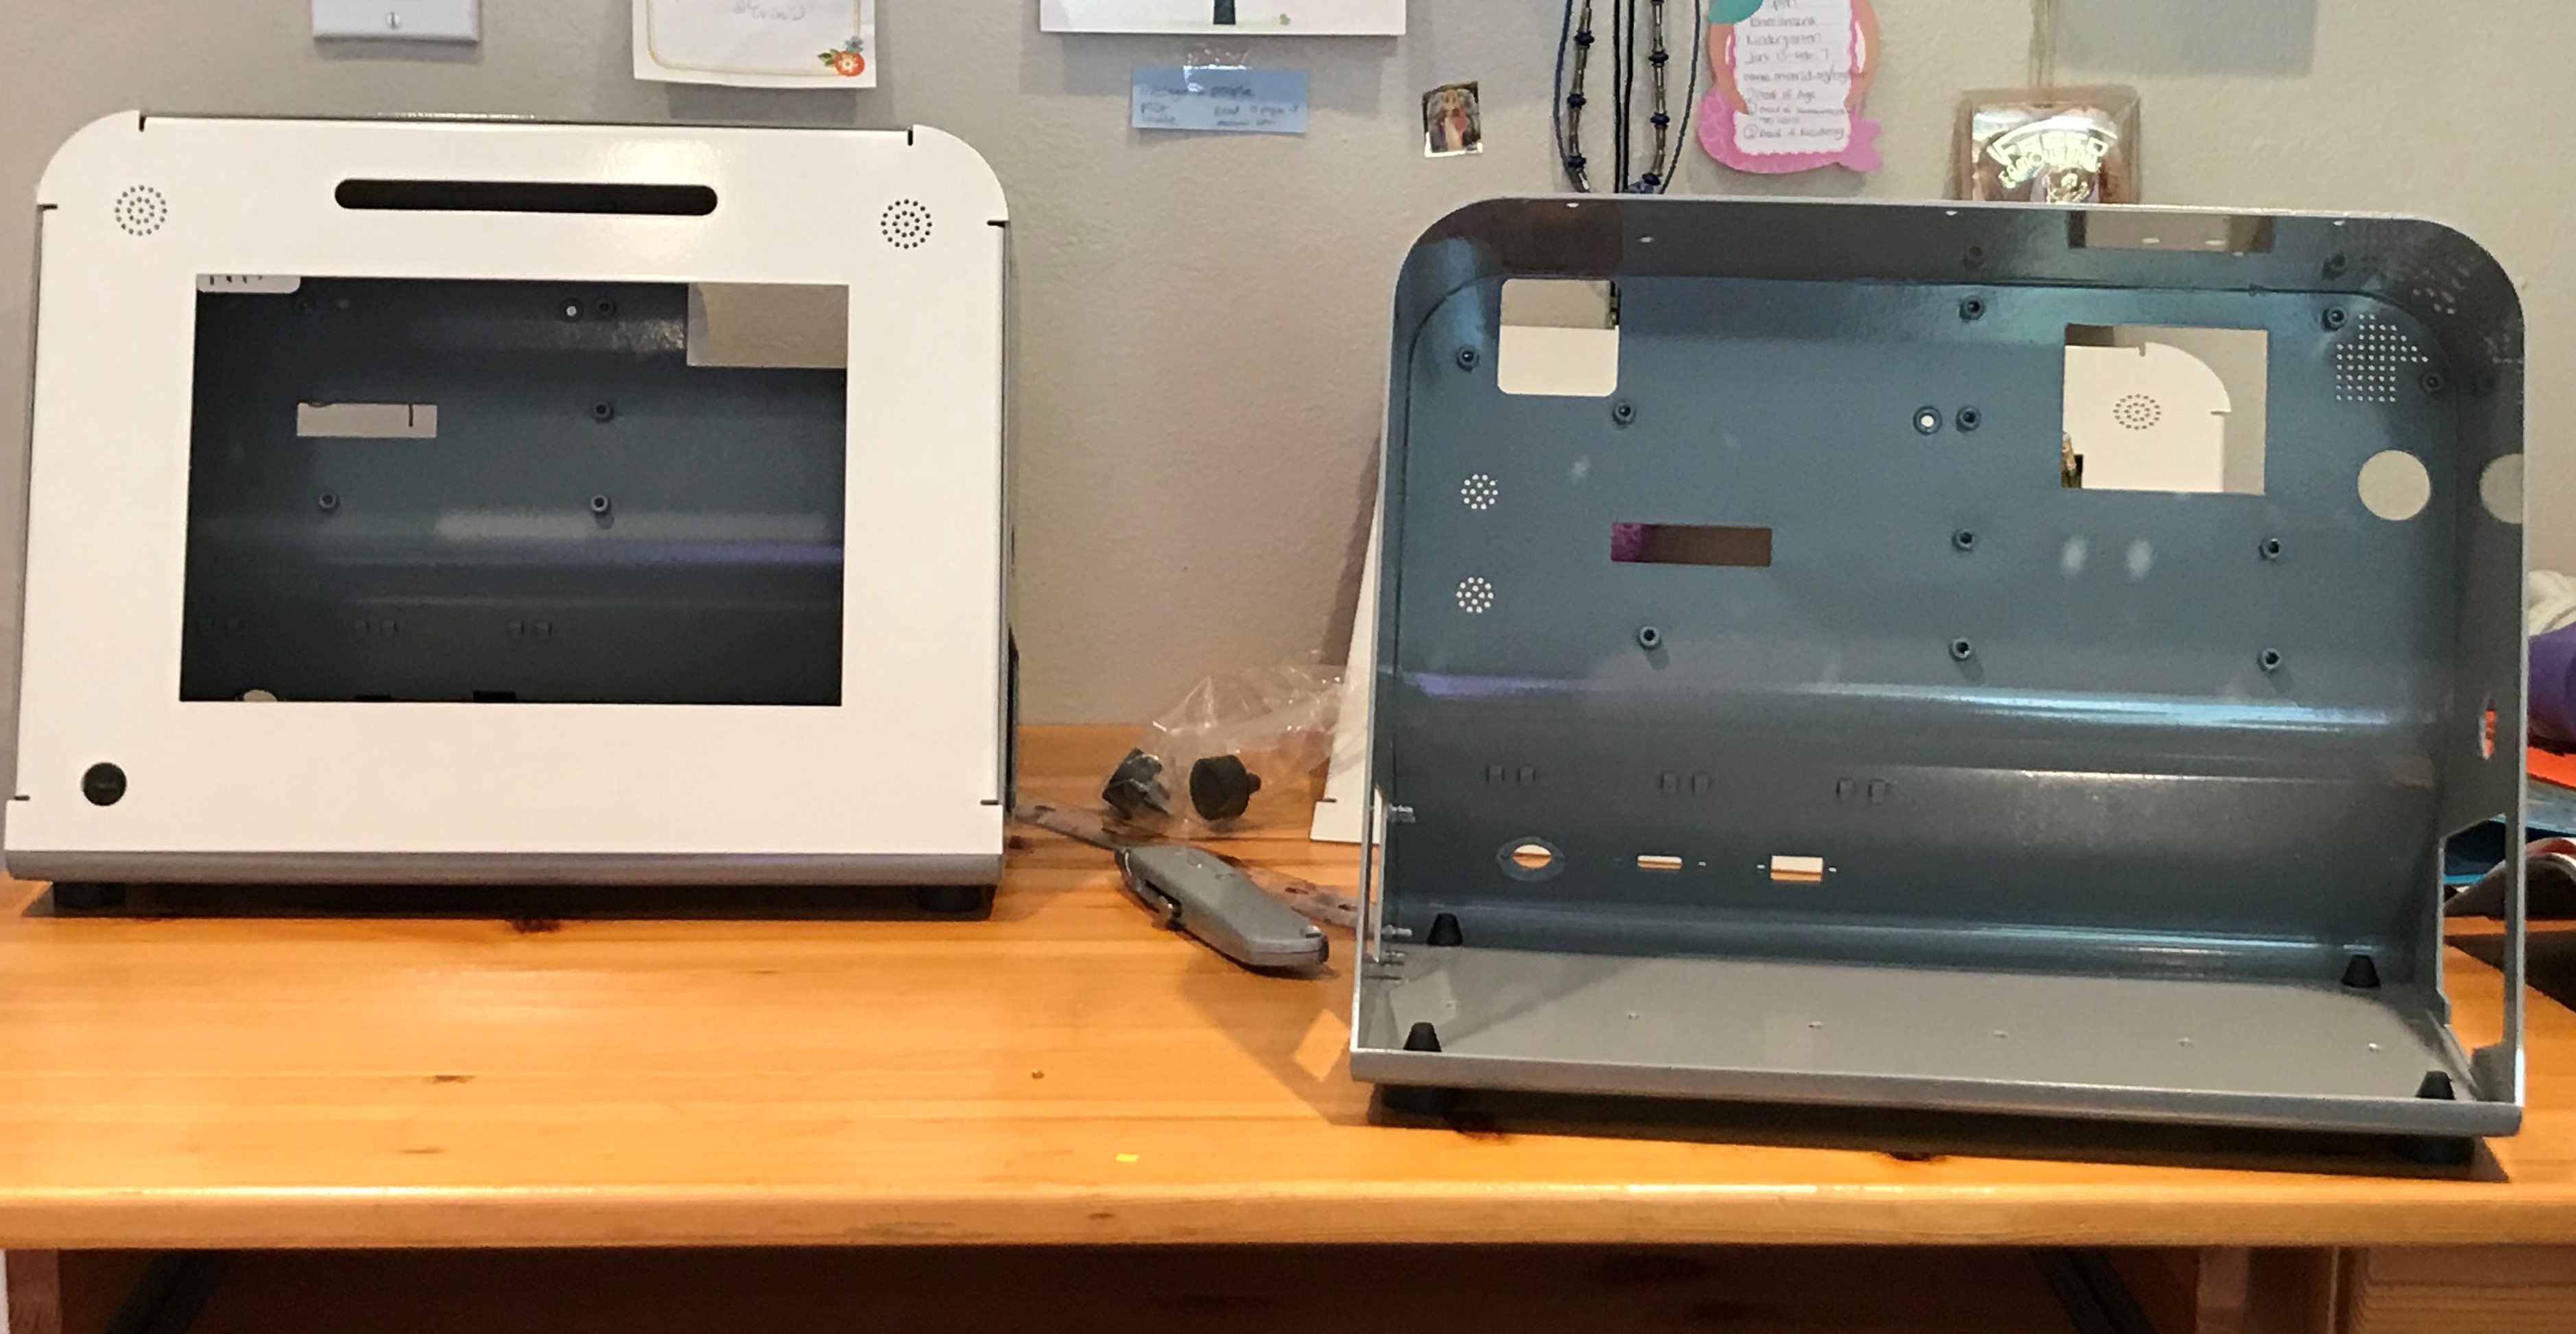
Hello Project RED supporters, We’ve finished assembling our first 2 full ventilators in our home office/lab here in northern California, and overall the process went like a dream! The parts came together exactly as planned, with only a few minor issues found. Below, we’ll give you a very brief summary of the ventilator assembly process! We start with the two empty metal enclosure of the ventilator. These are made from folded and welded pieces of 2mm thick Aluminum. The housing is in 2 pieces: a rear metal “shell” (gray) and a front cover plate (white).
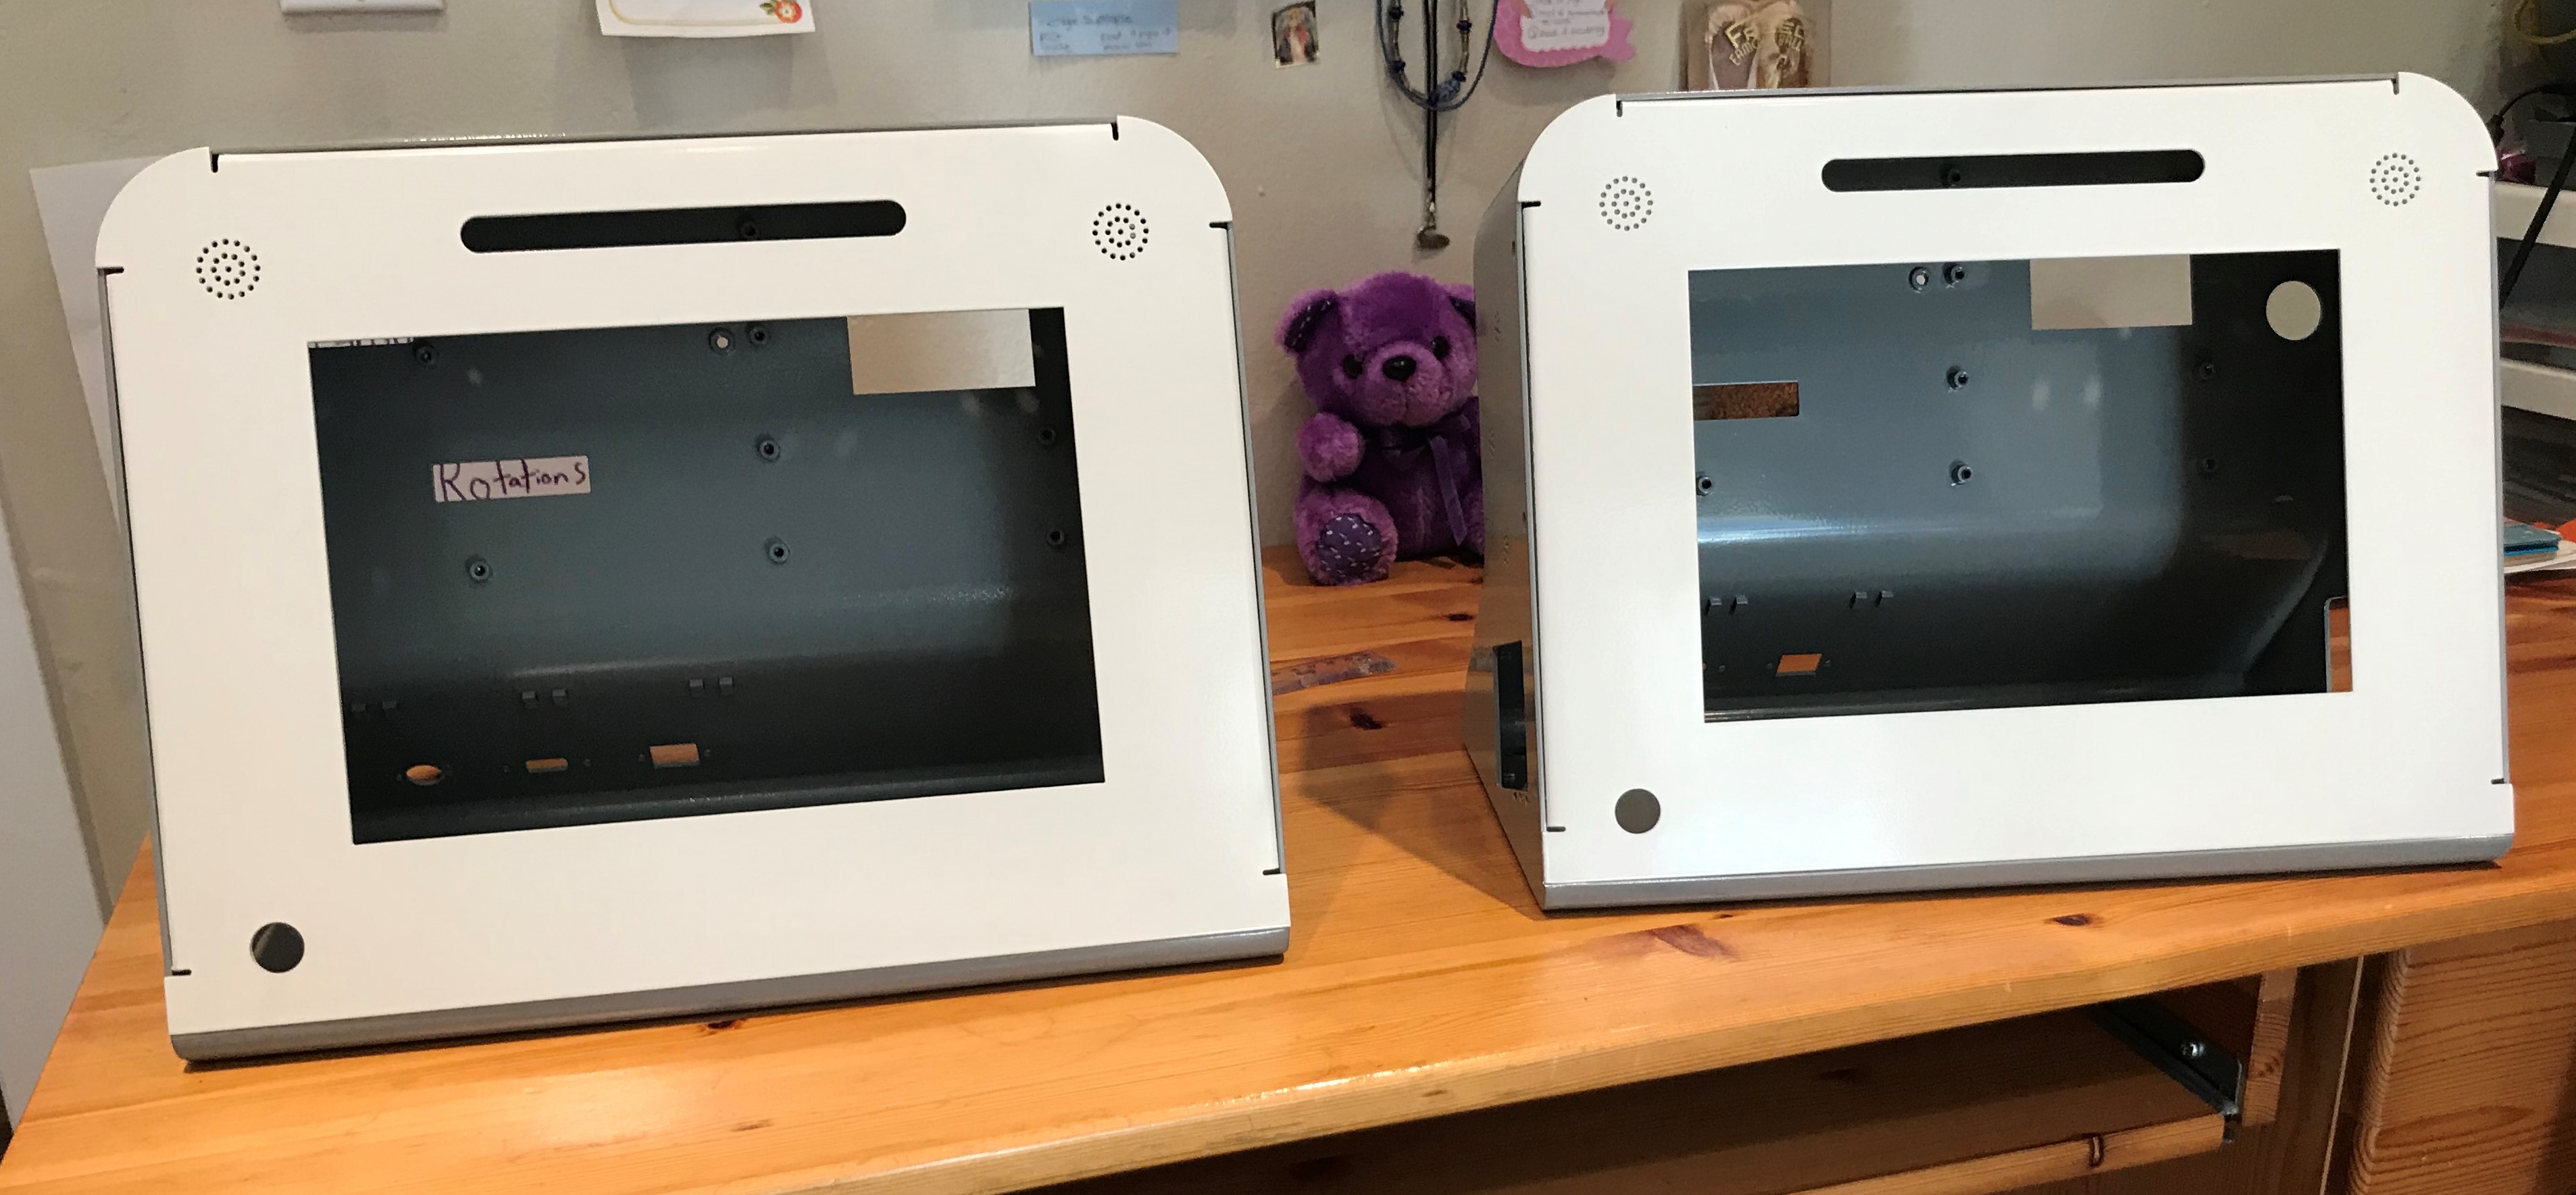
Into this shell, we install several cables, 4 rubber feet, and a sliding rail (not shown) along the bottom.
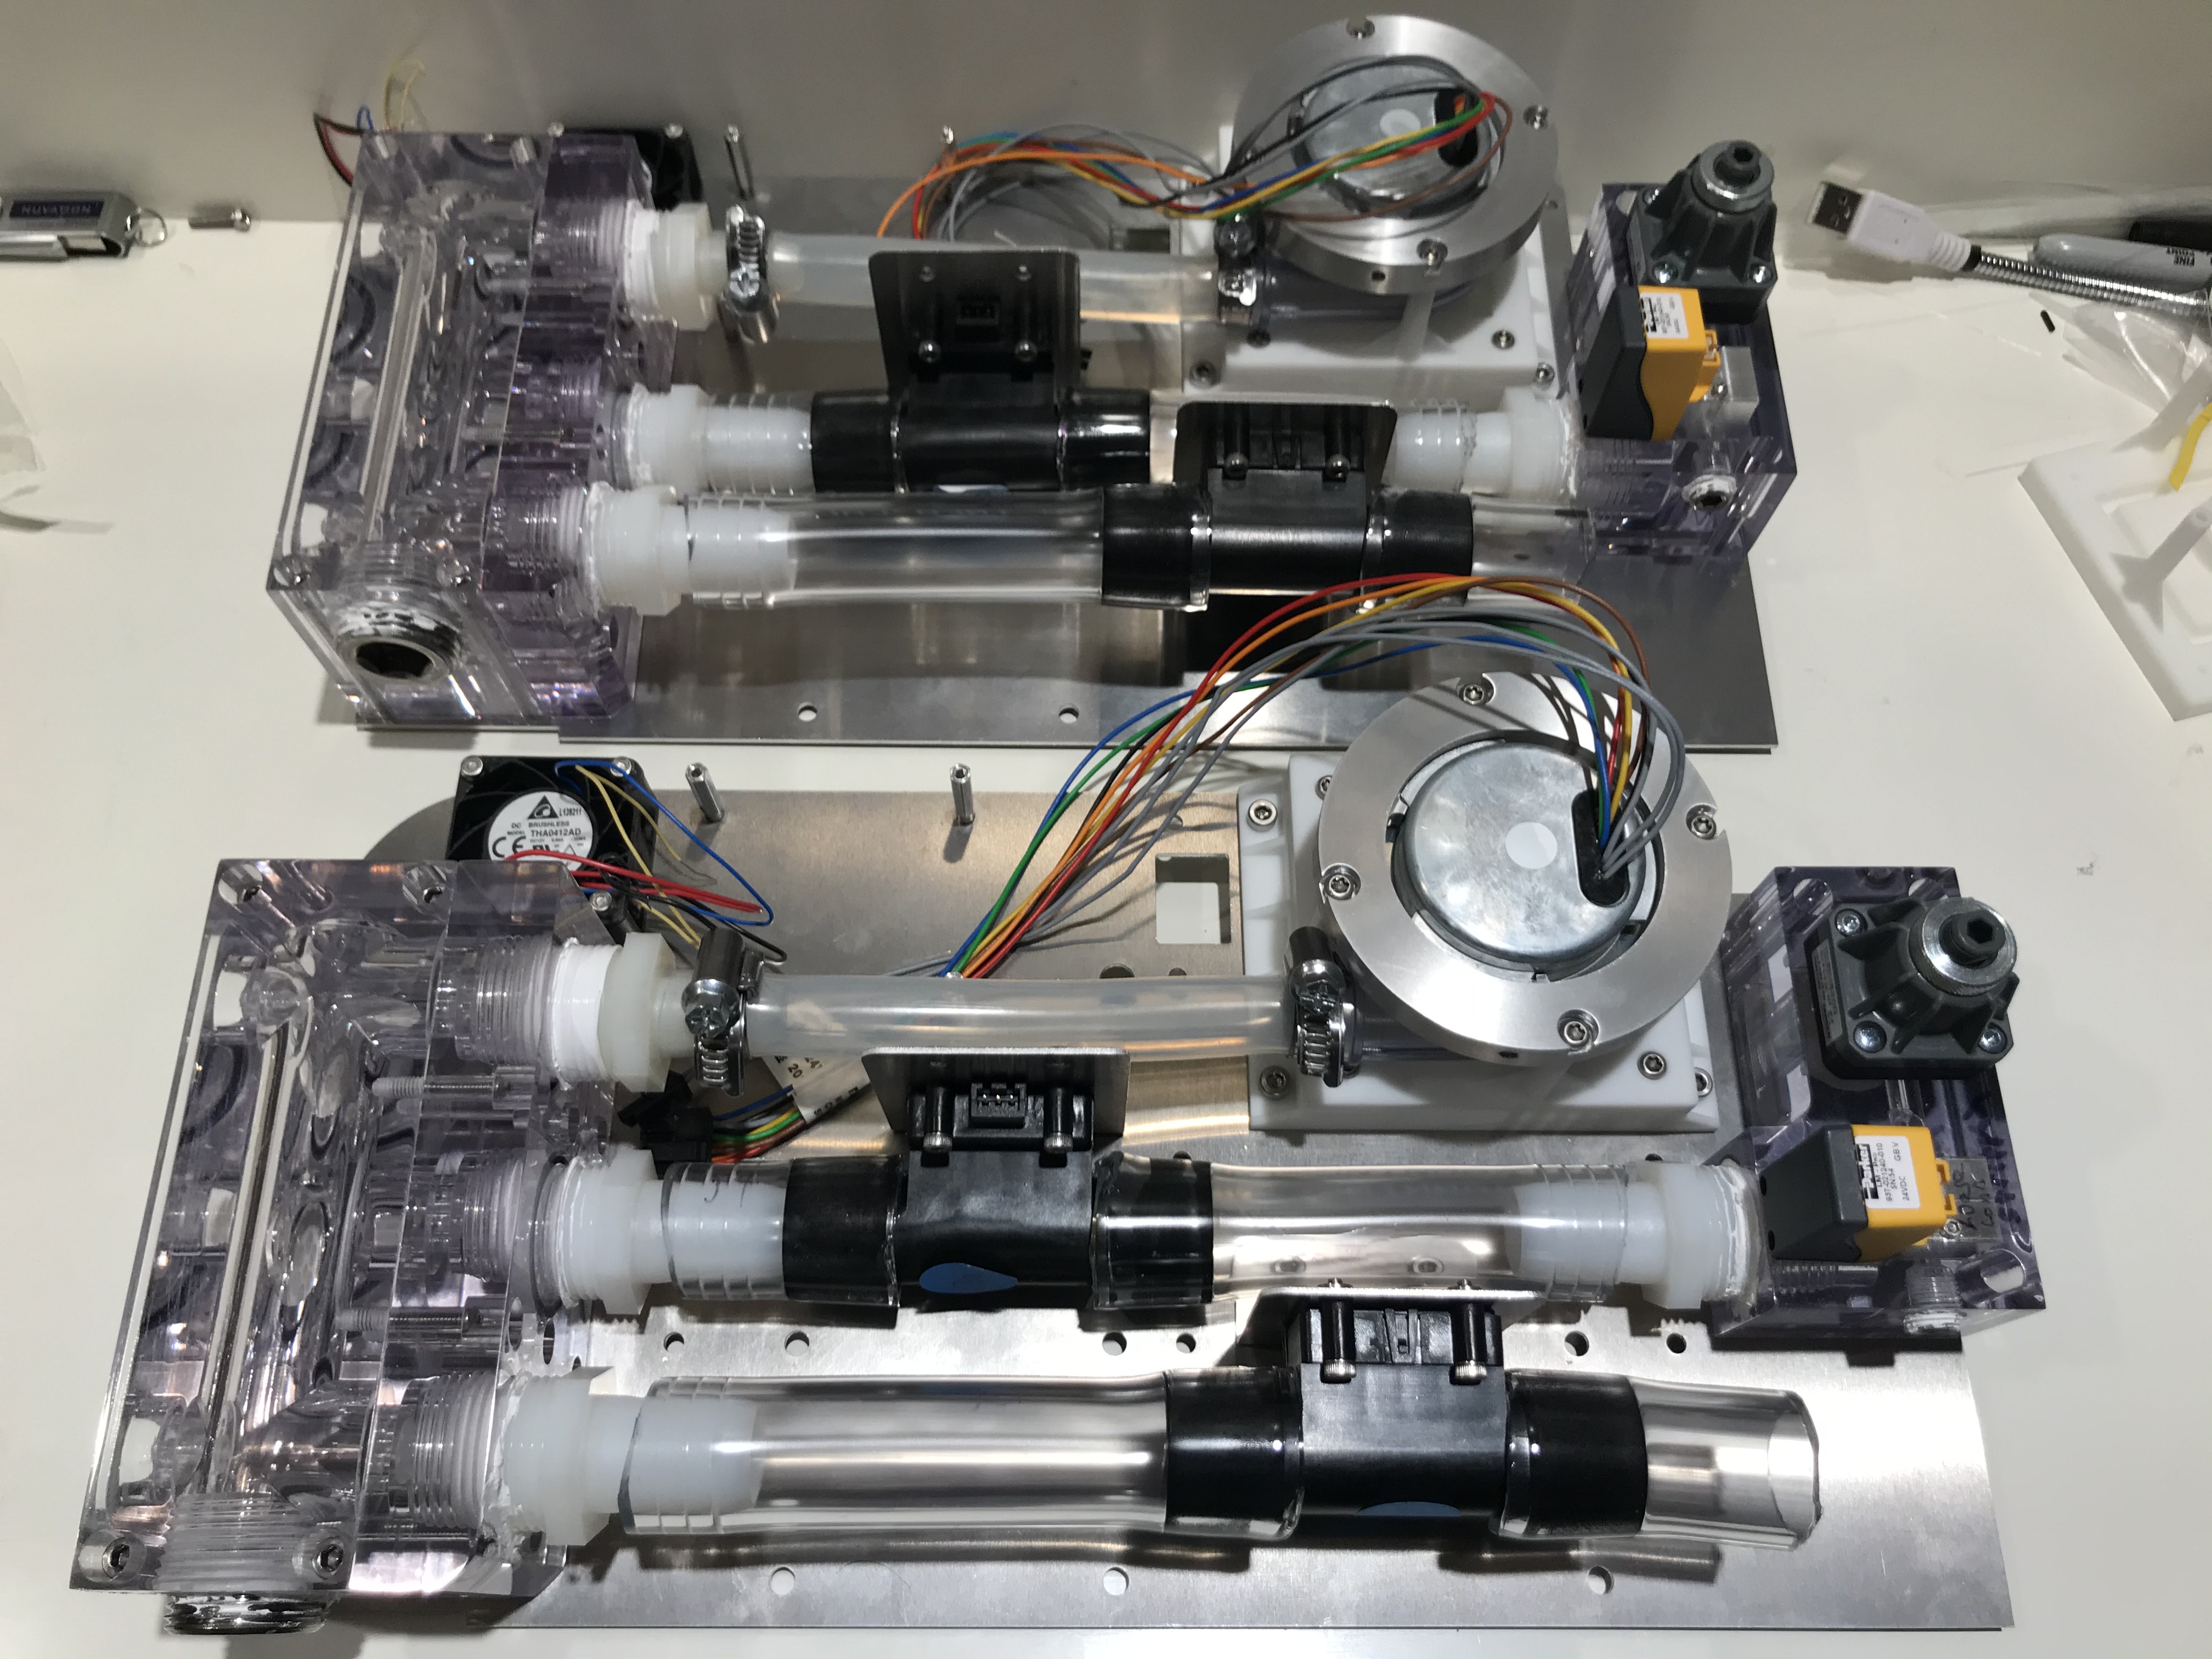
Next, you prepare the “tray” subassembly, where all of the Inspiratory-side components of the ventilator are located. For ease of manufacturing, the “tray” is just a flat piece of sheet metal to which most of the ventilator components are attached, allowing the freedom to do most of the assembly work outside of the enclosure. Two fully assembled “trays” are shown below.
The “tray” is then simply dropped into the ventilator shell, and secured with 11 screws:
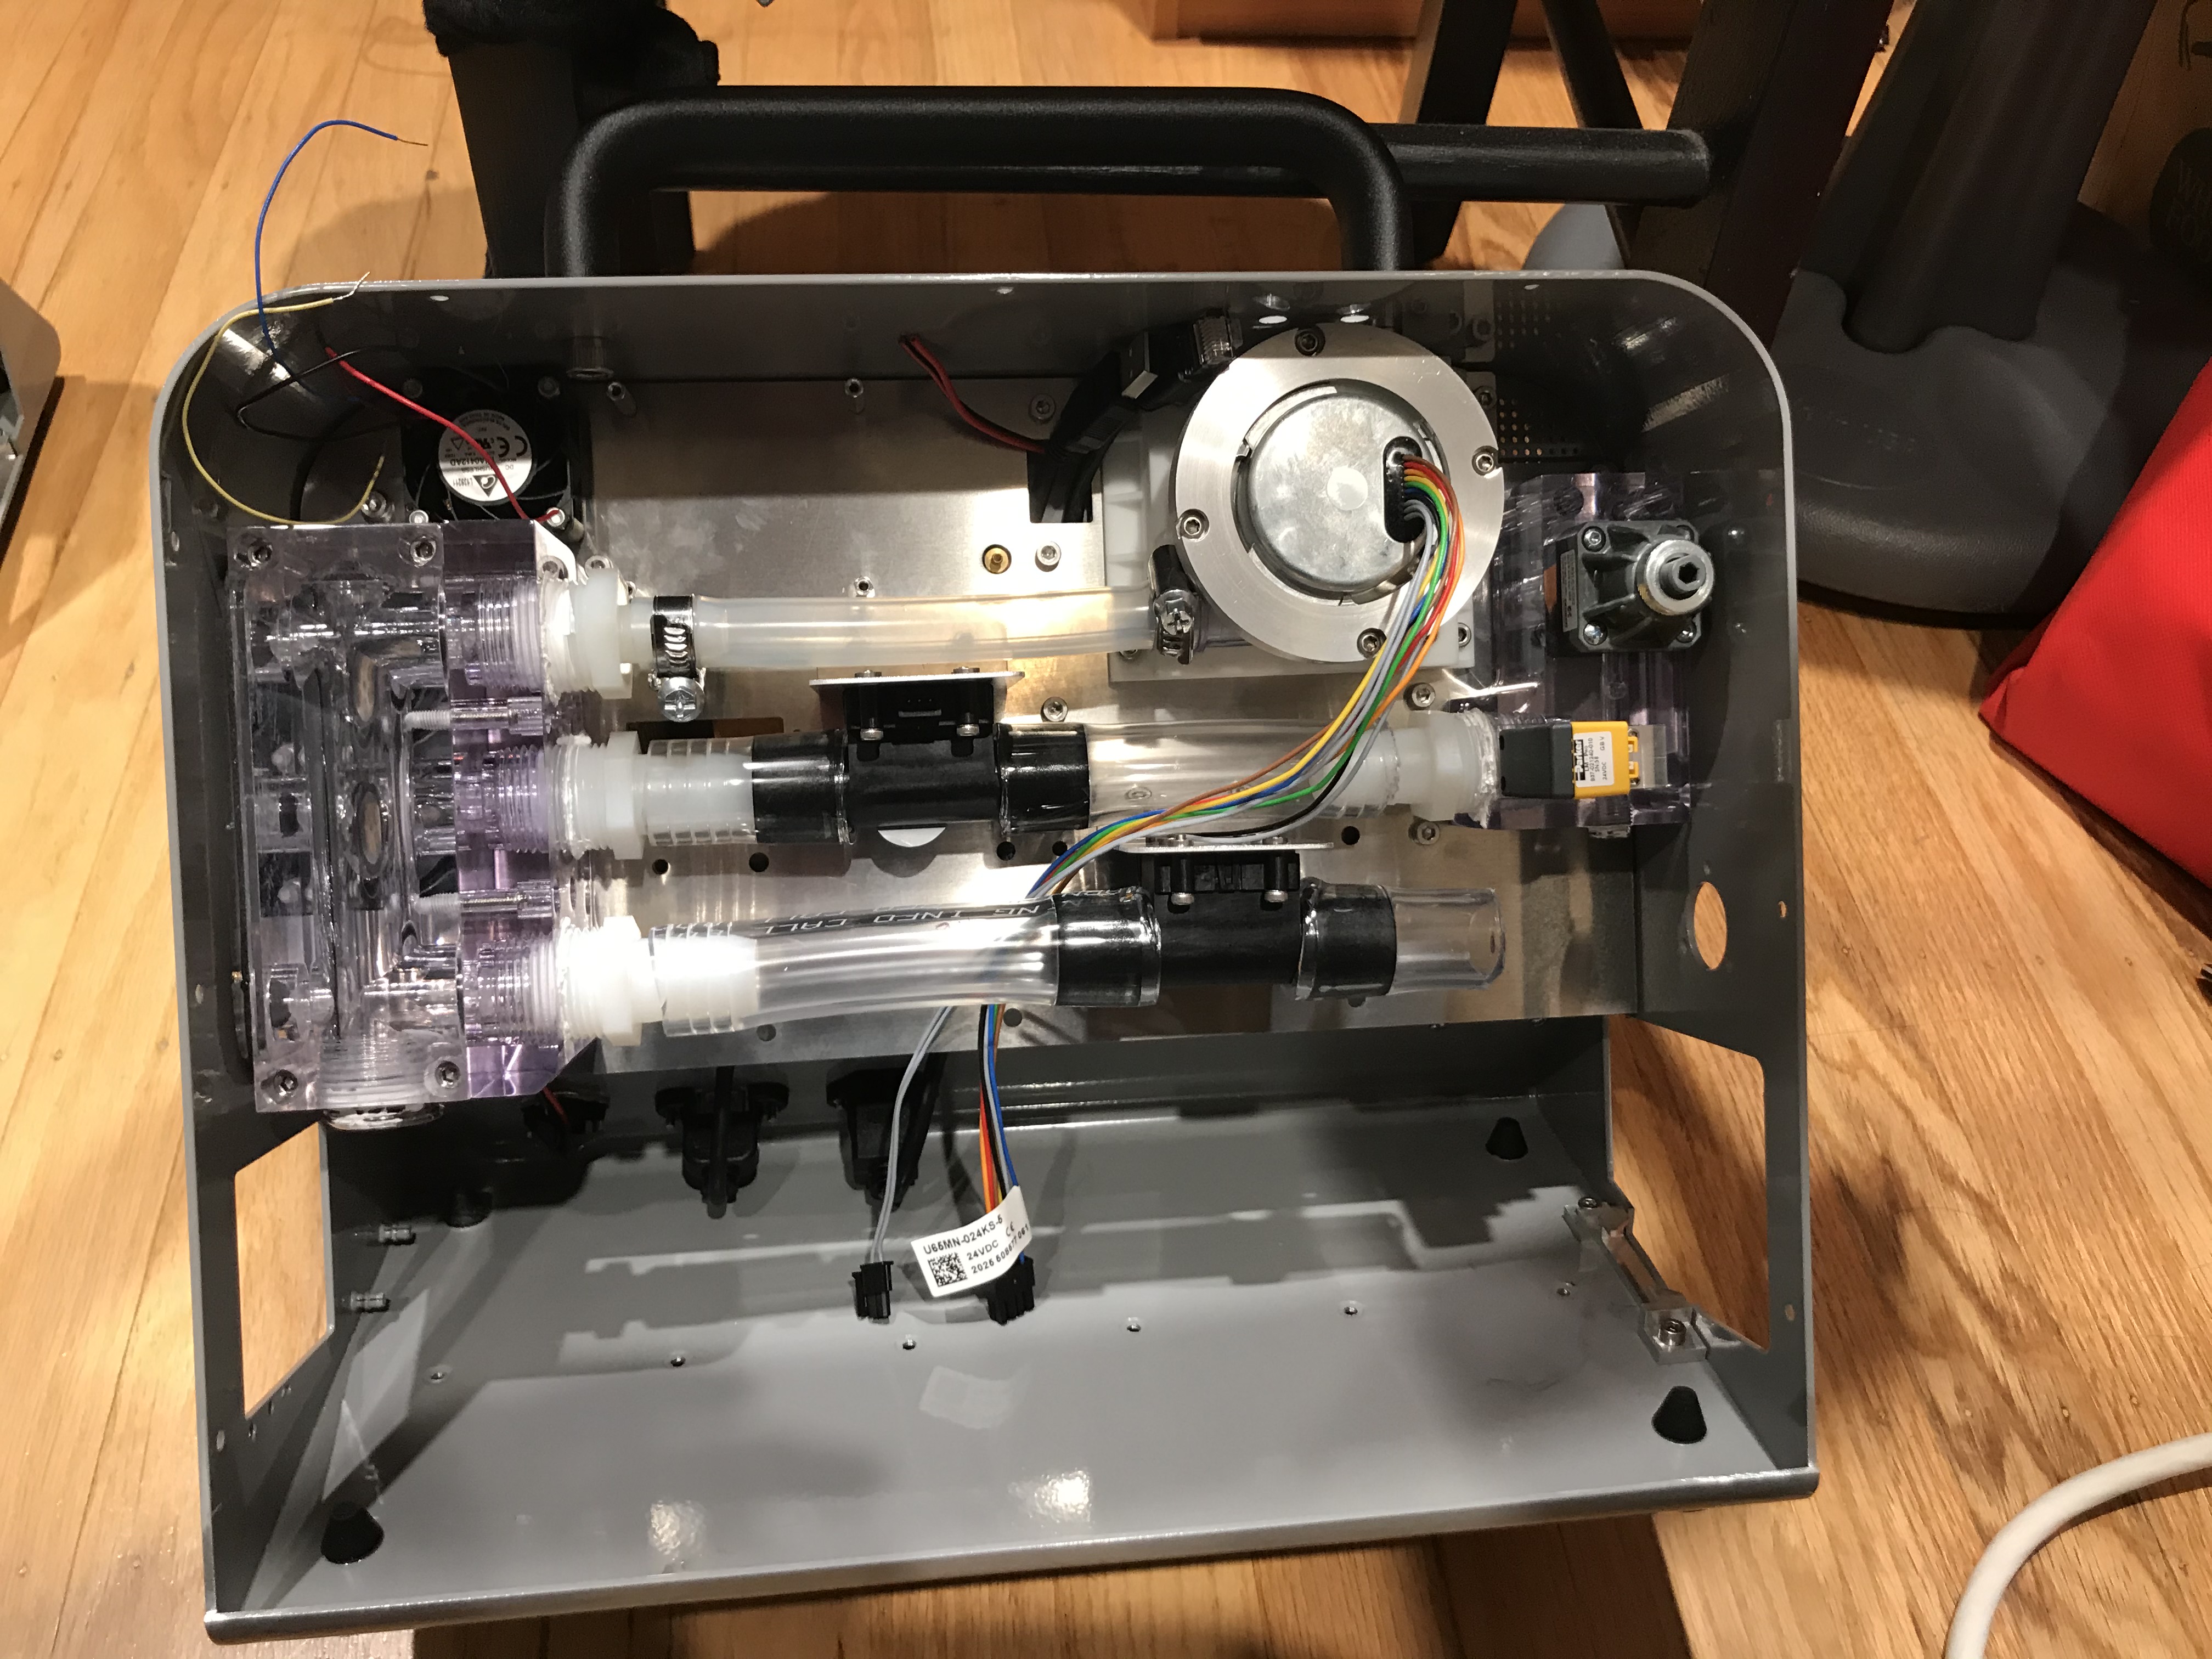
After this, the Expiratory “cartridge” has to be built as a separate subassembly. This is a self-contained metal cartridge that slides in and out of the bottom section of the ventilator. Once the cartridge is assembled and inserted into the ventilator, it looks like this:
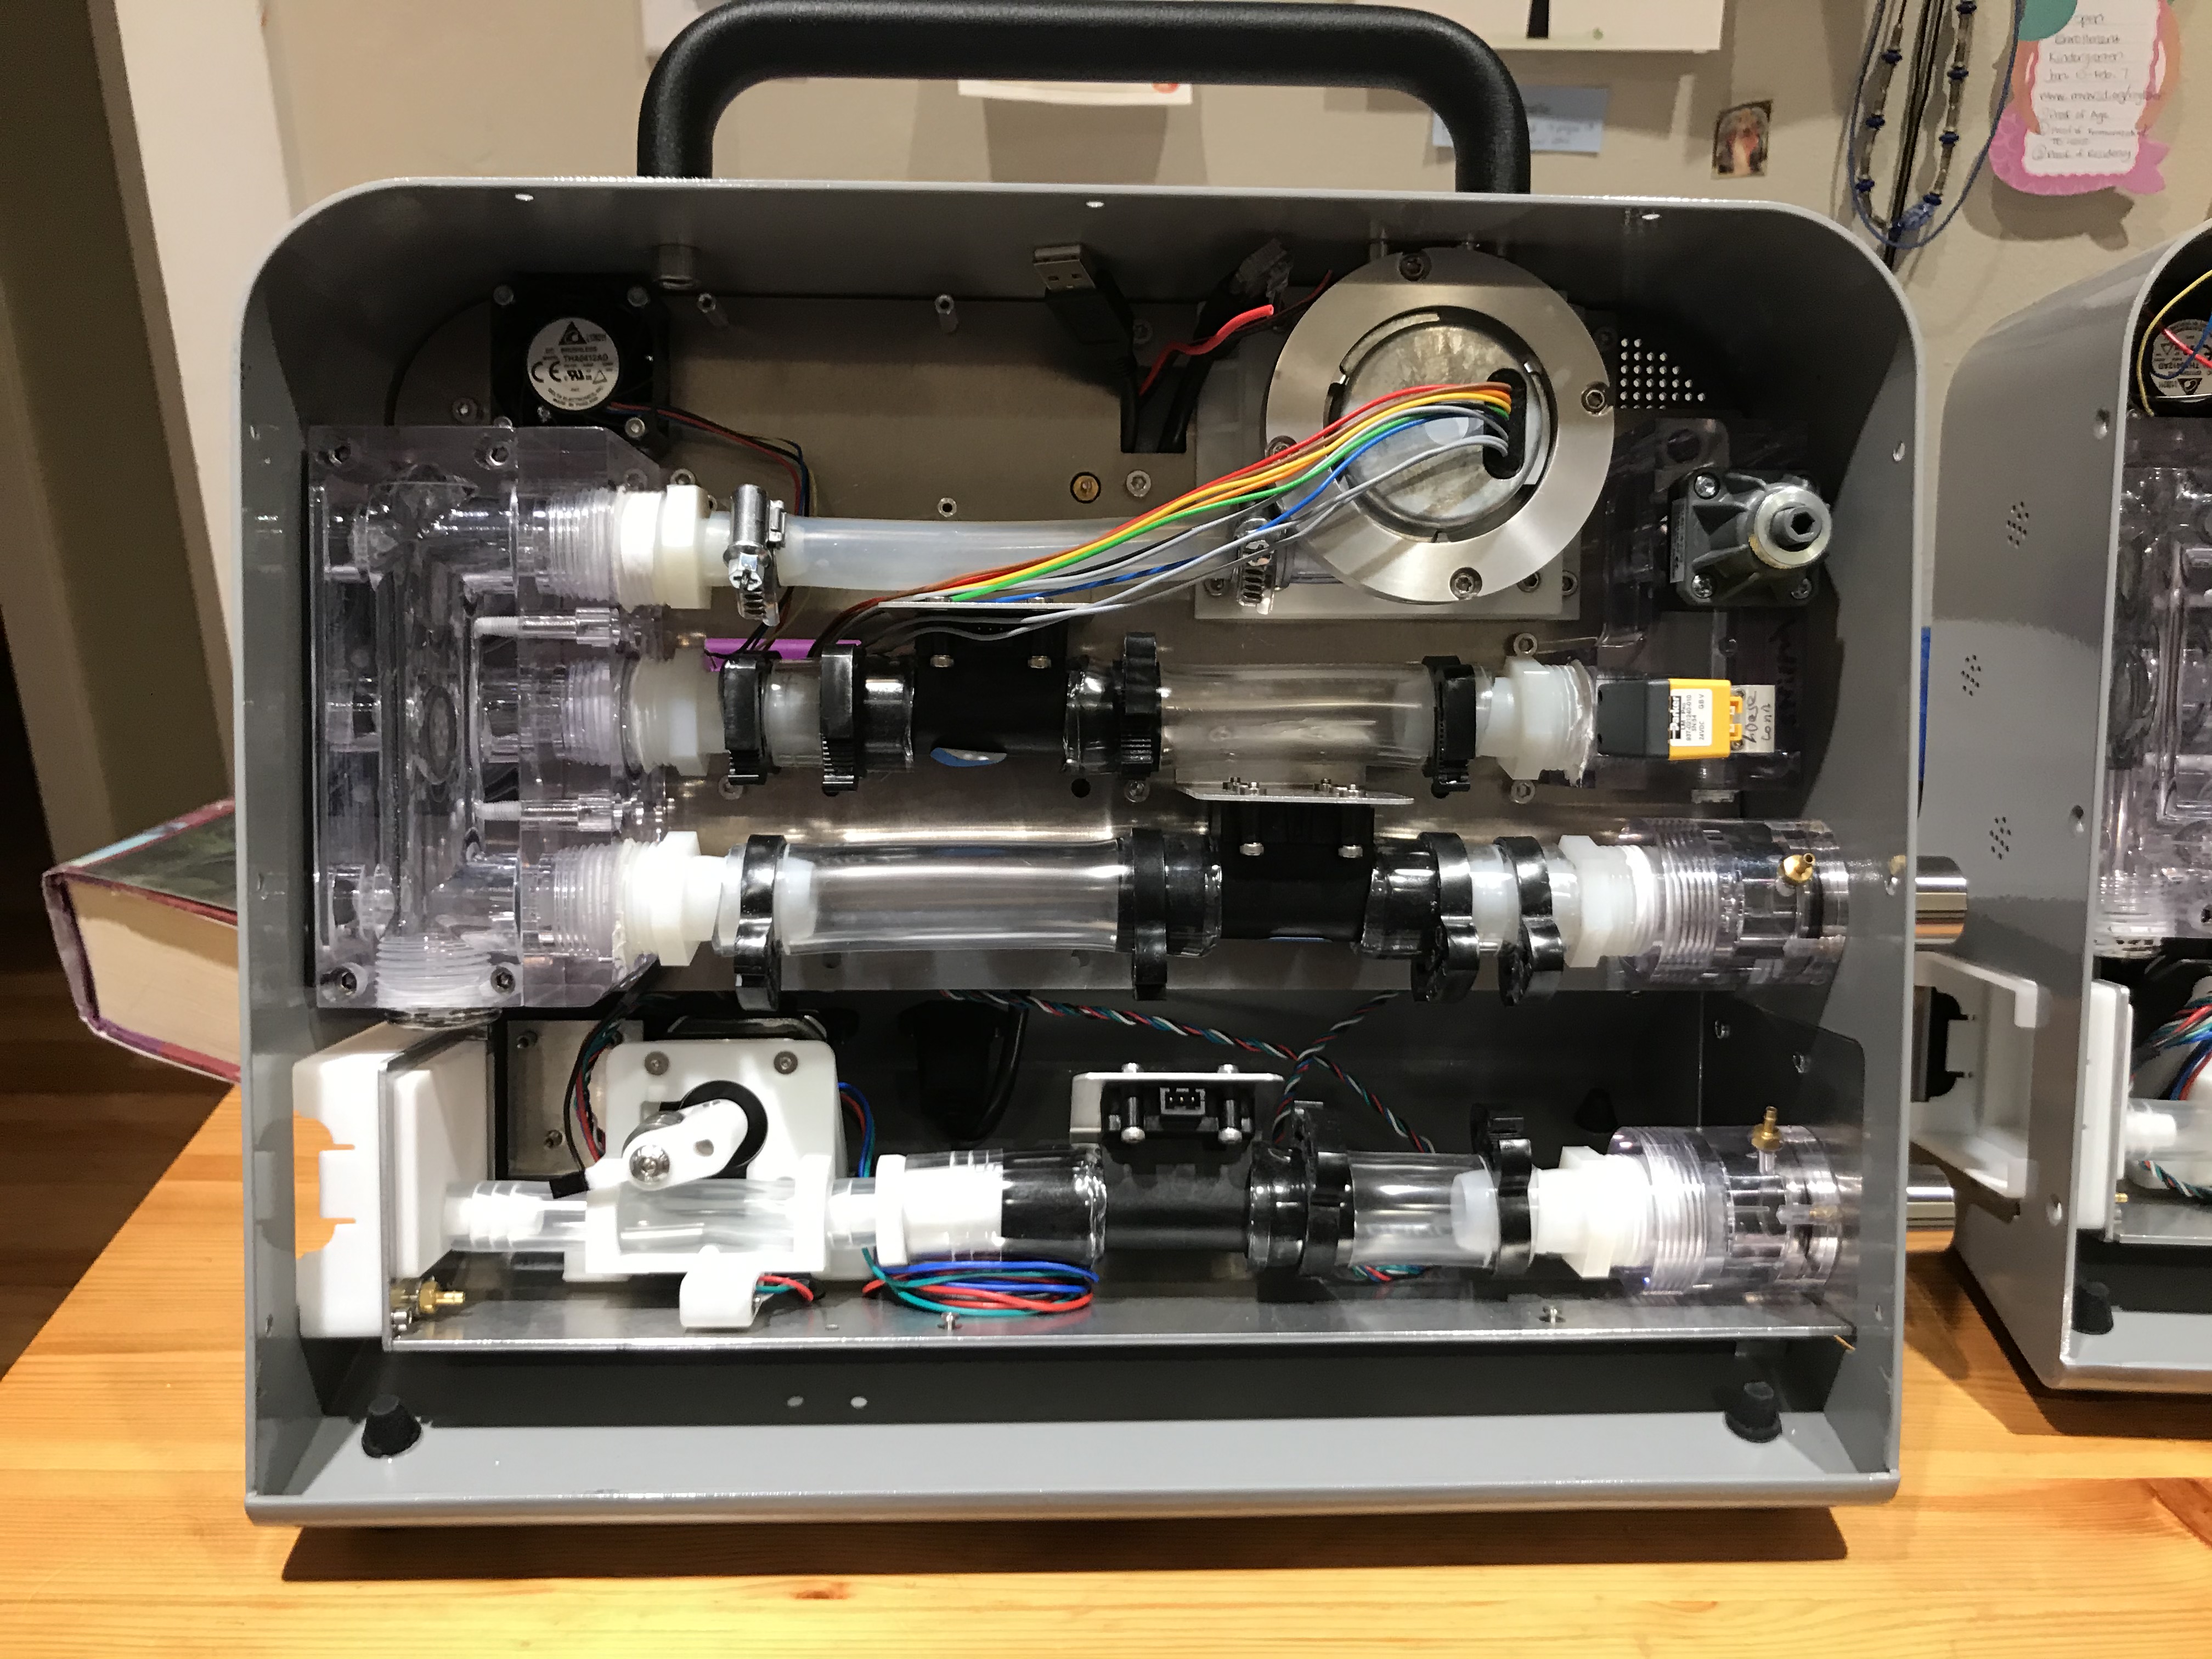
The above picture shows the Expiratory Cartridge with its metal cover removed. With the metal cover in place, it looks like this.
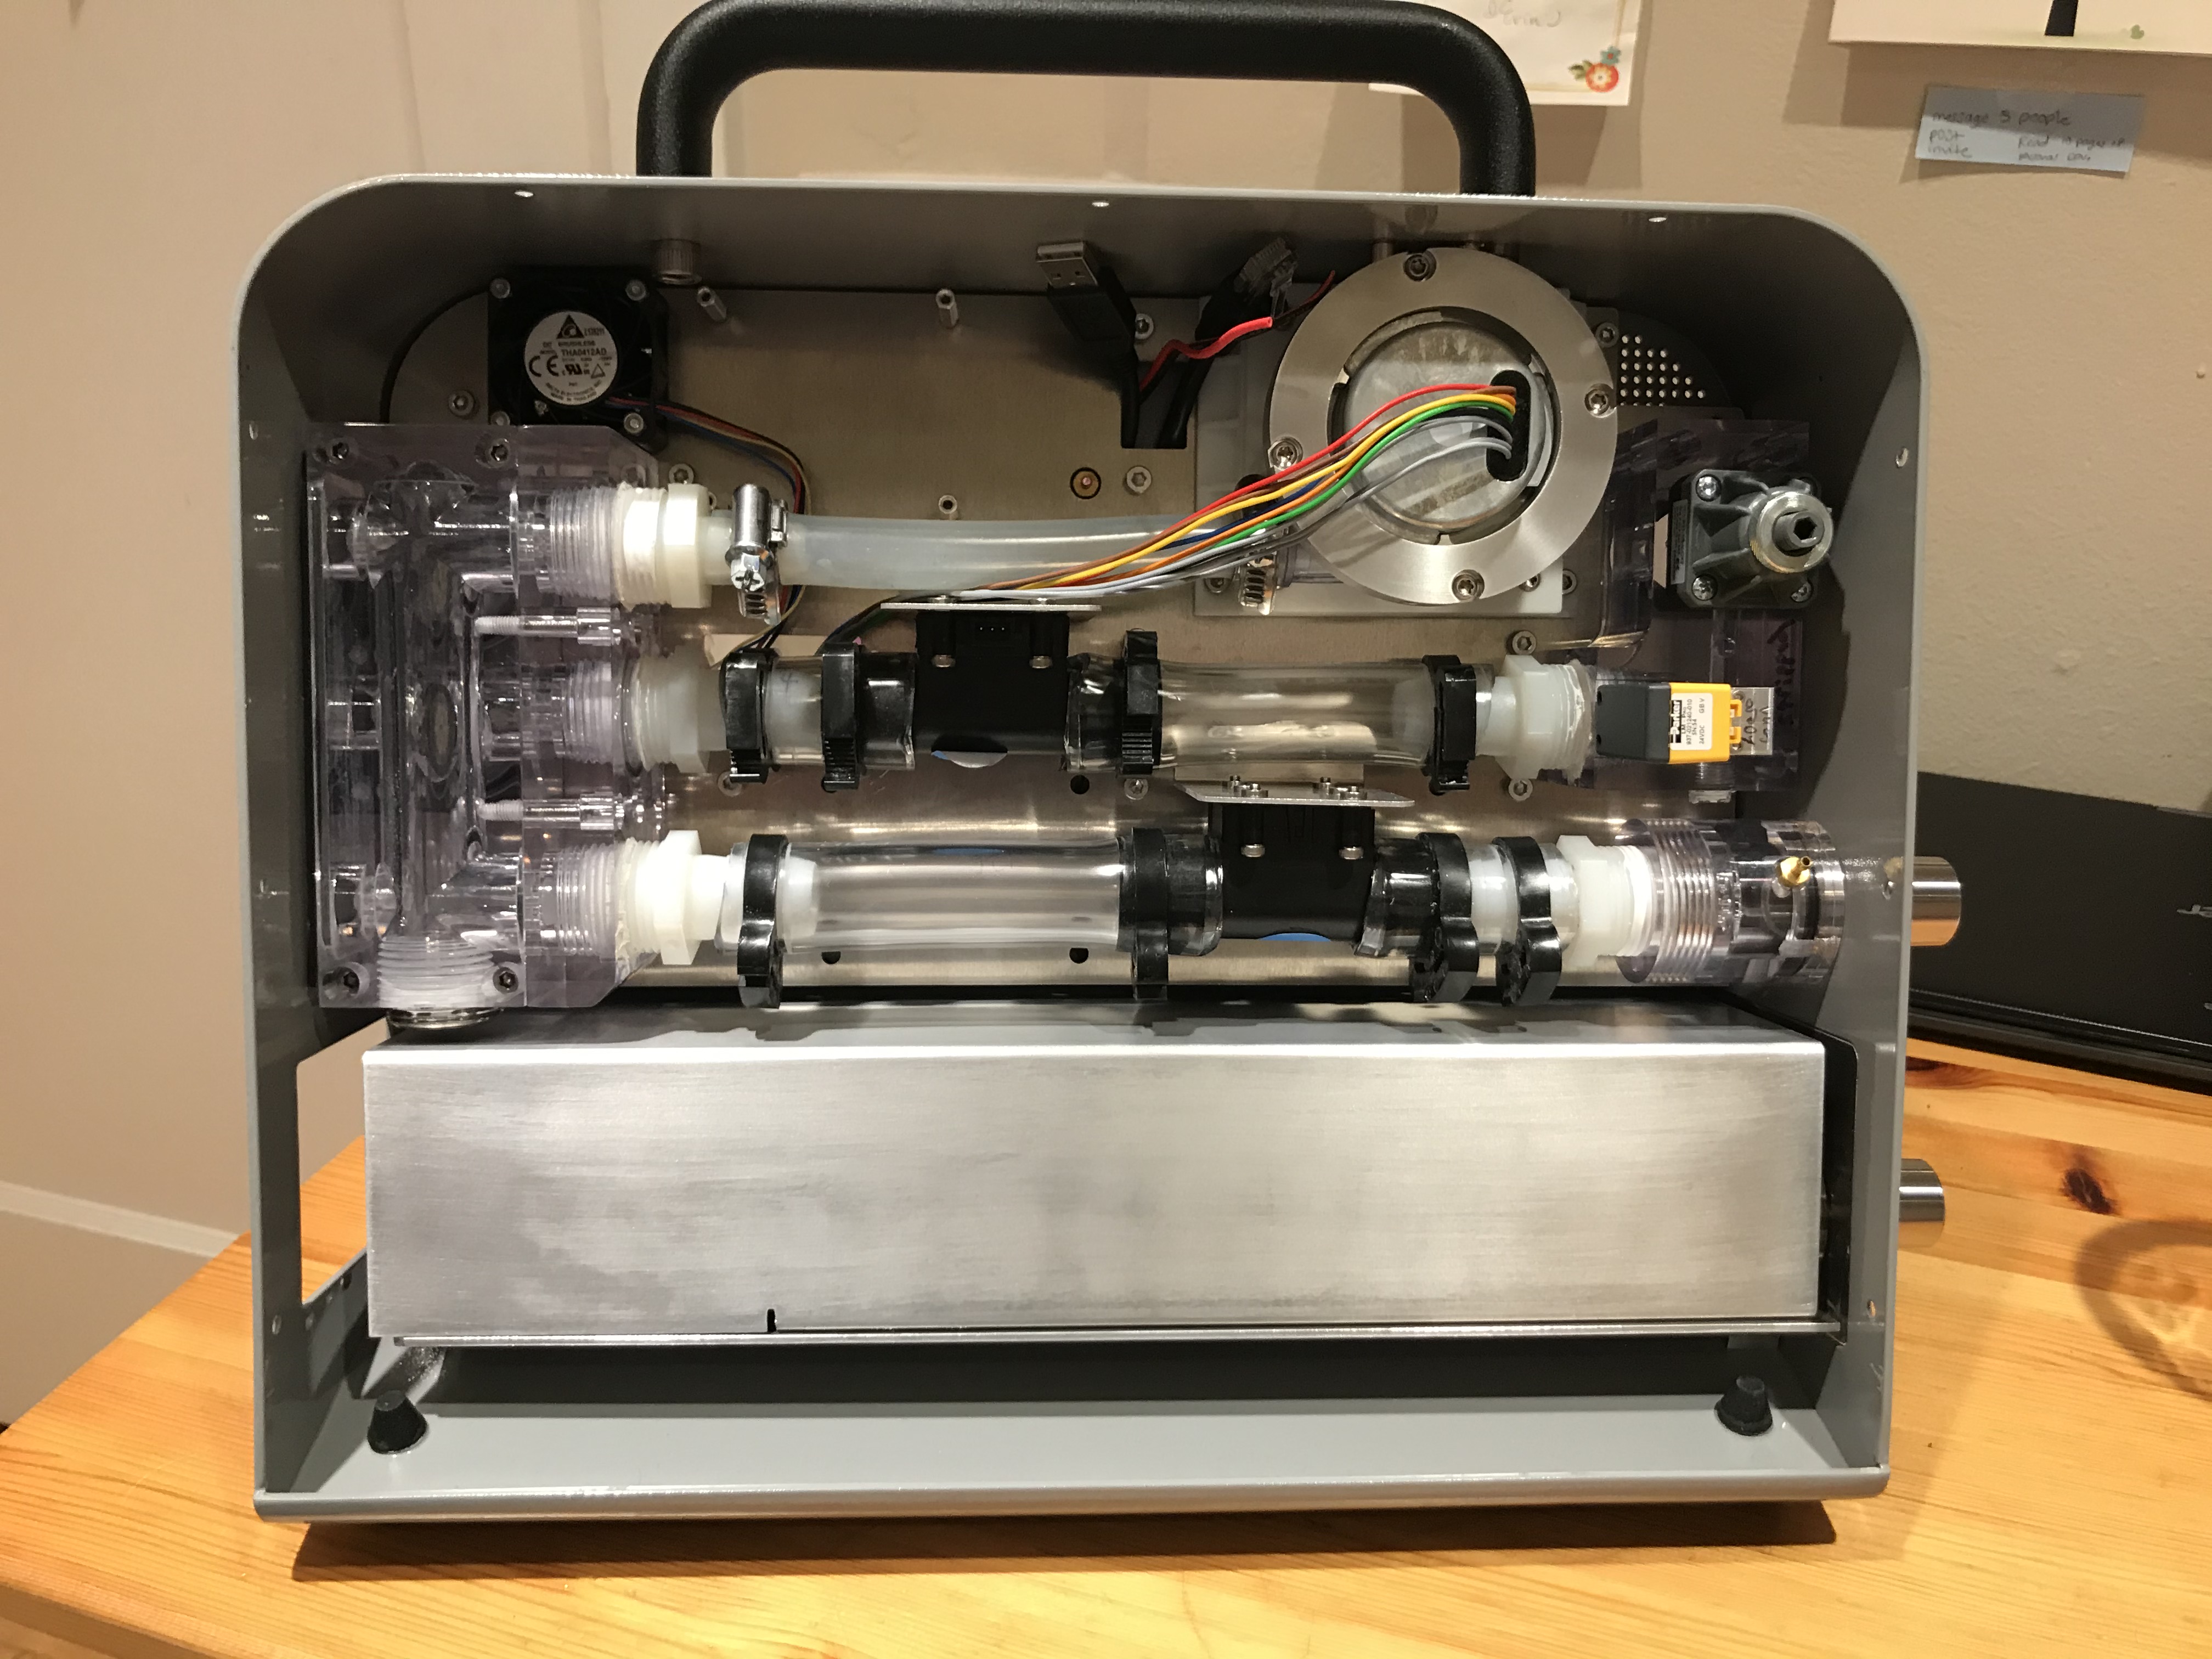
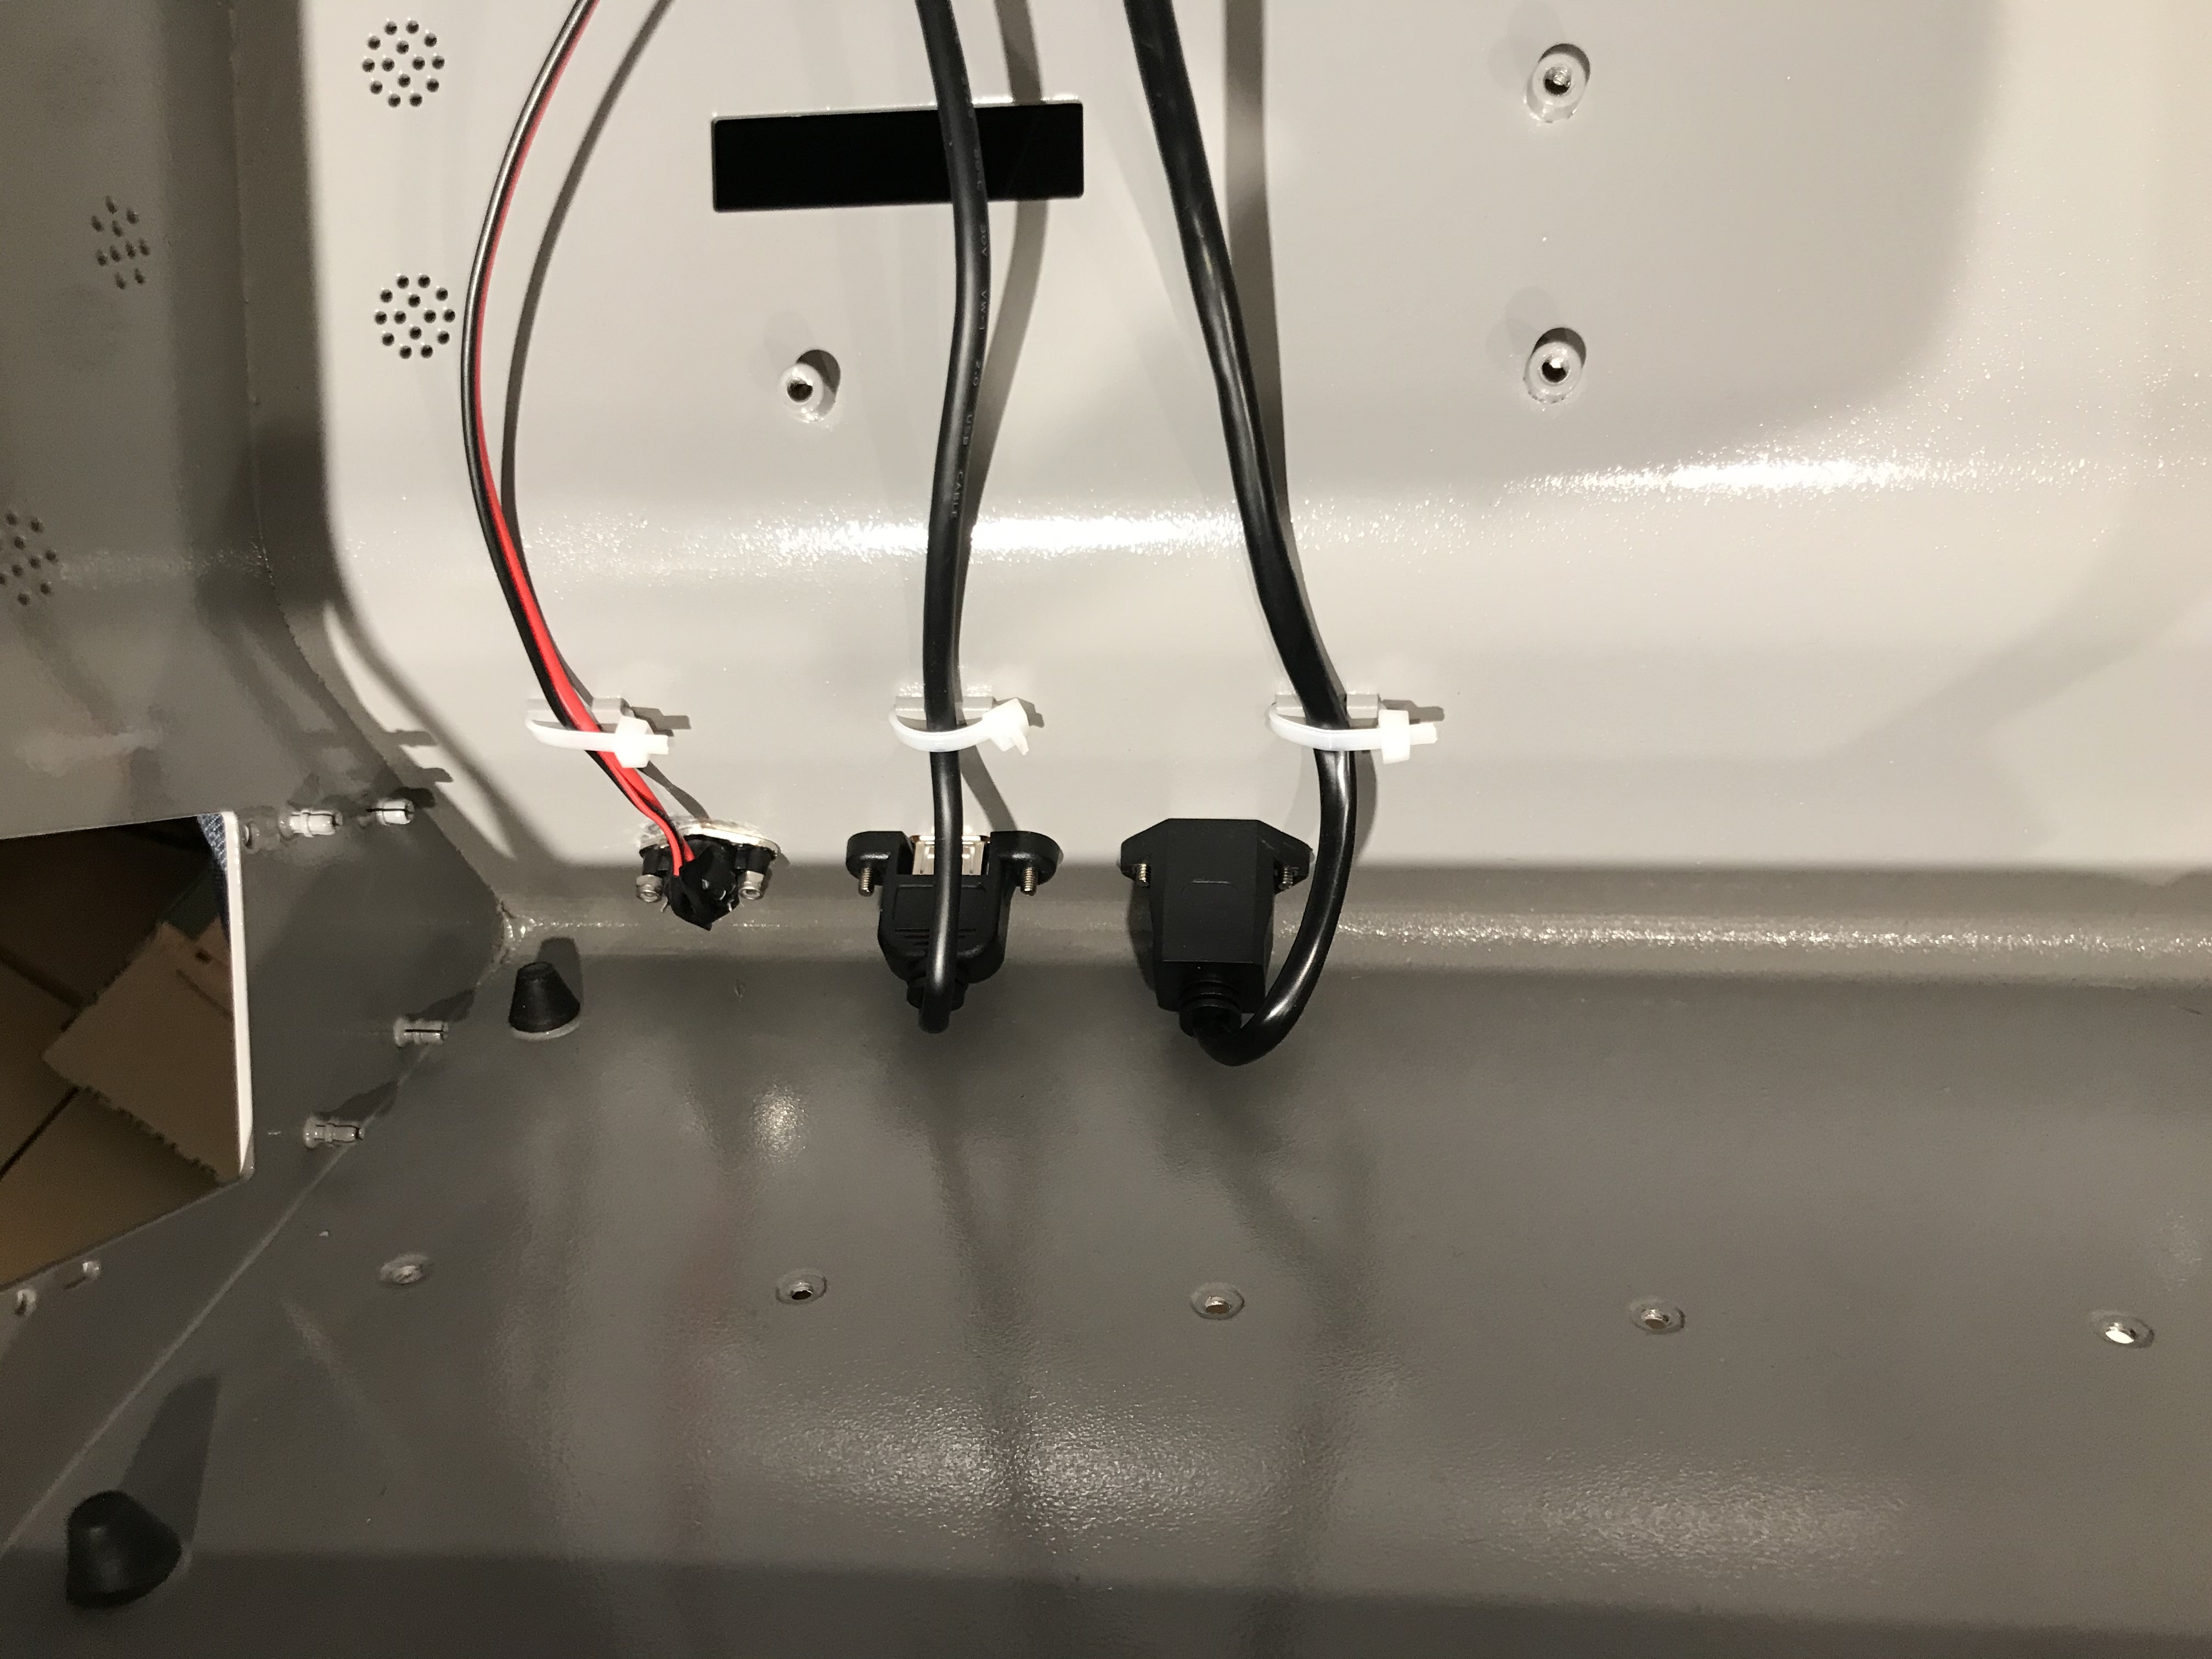
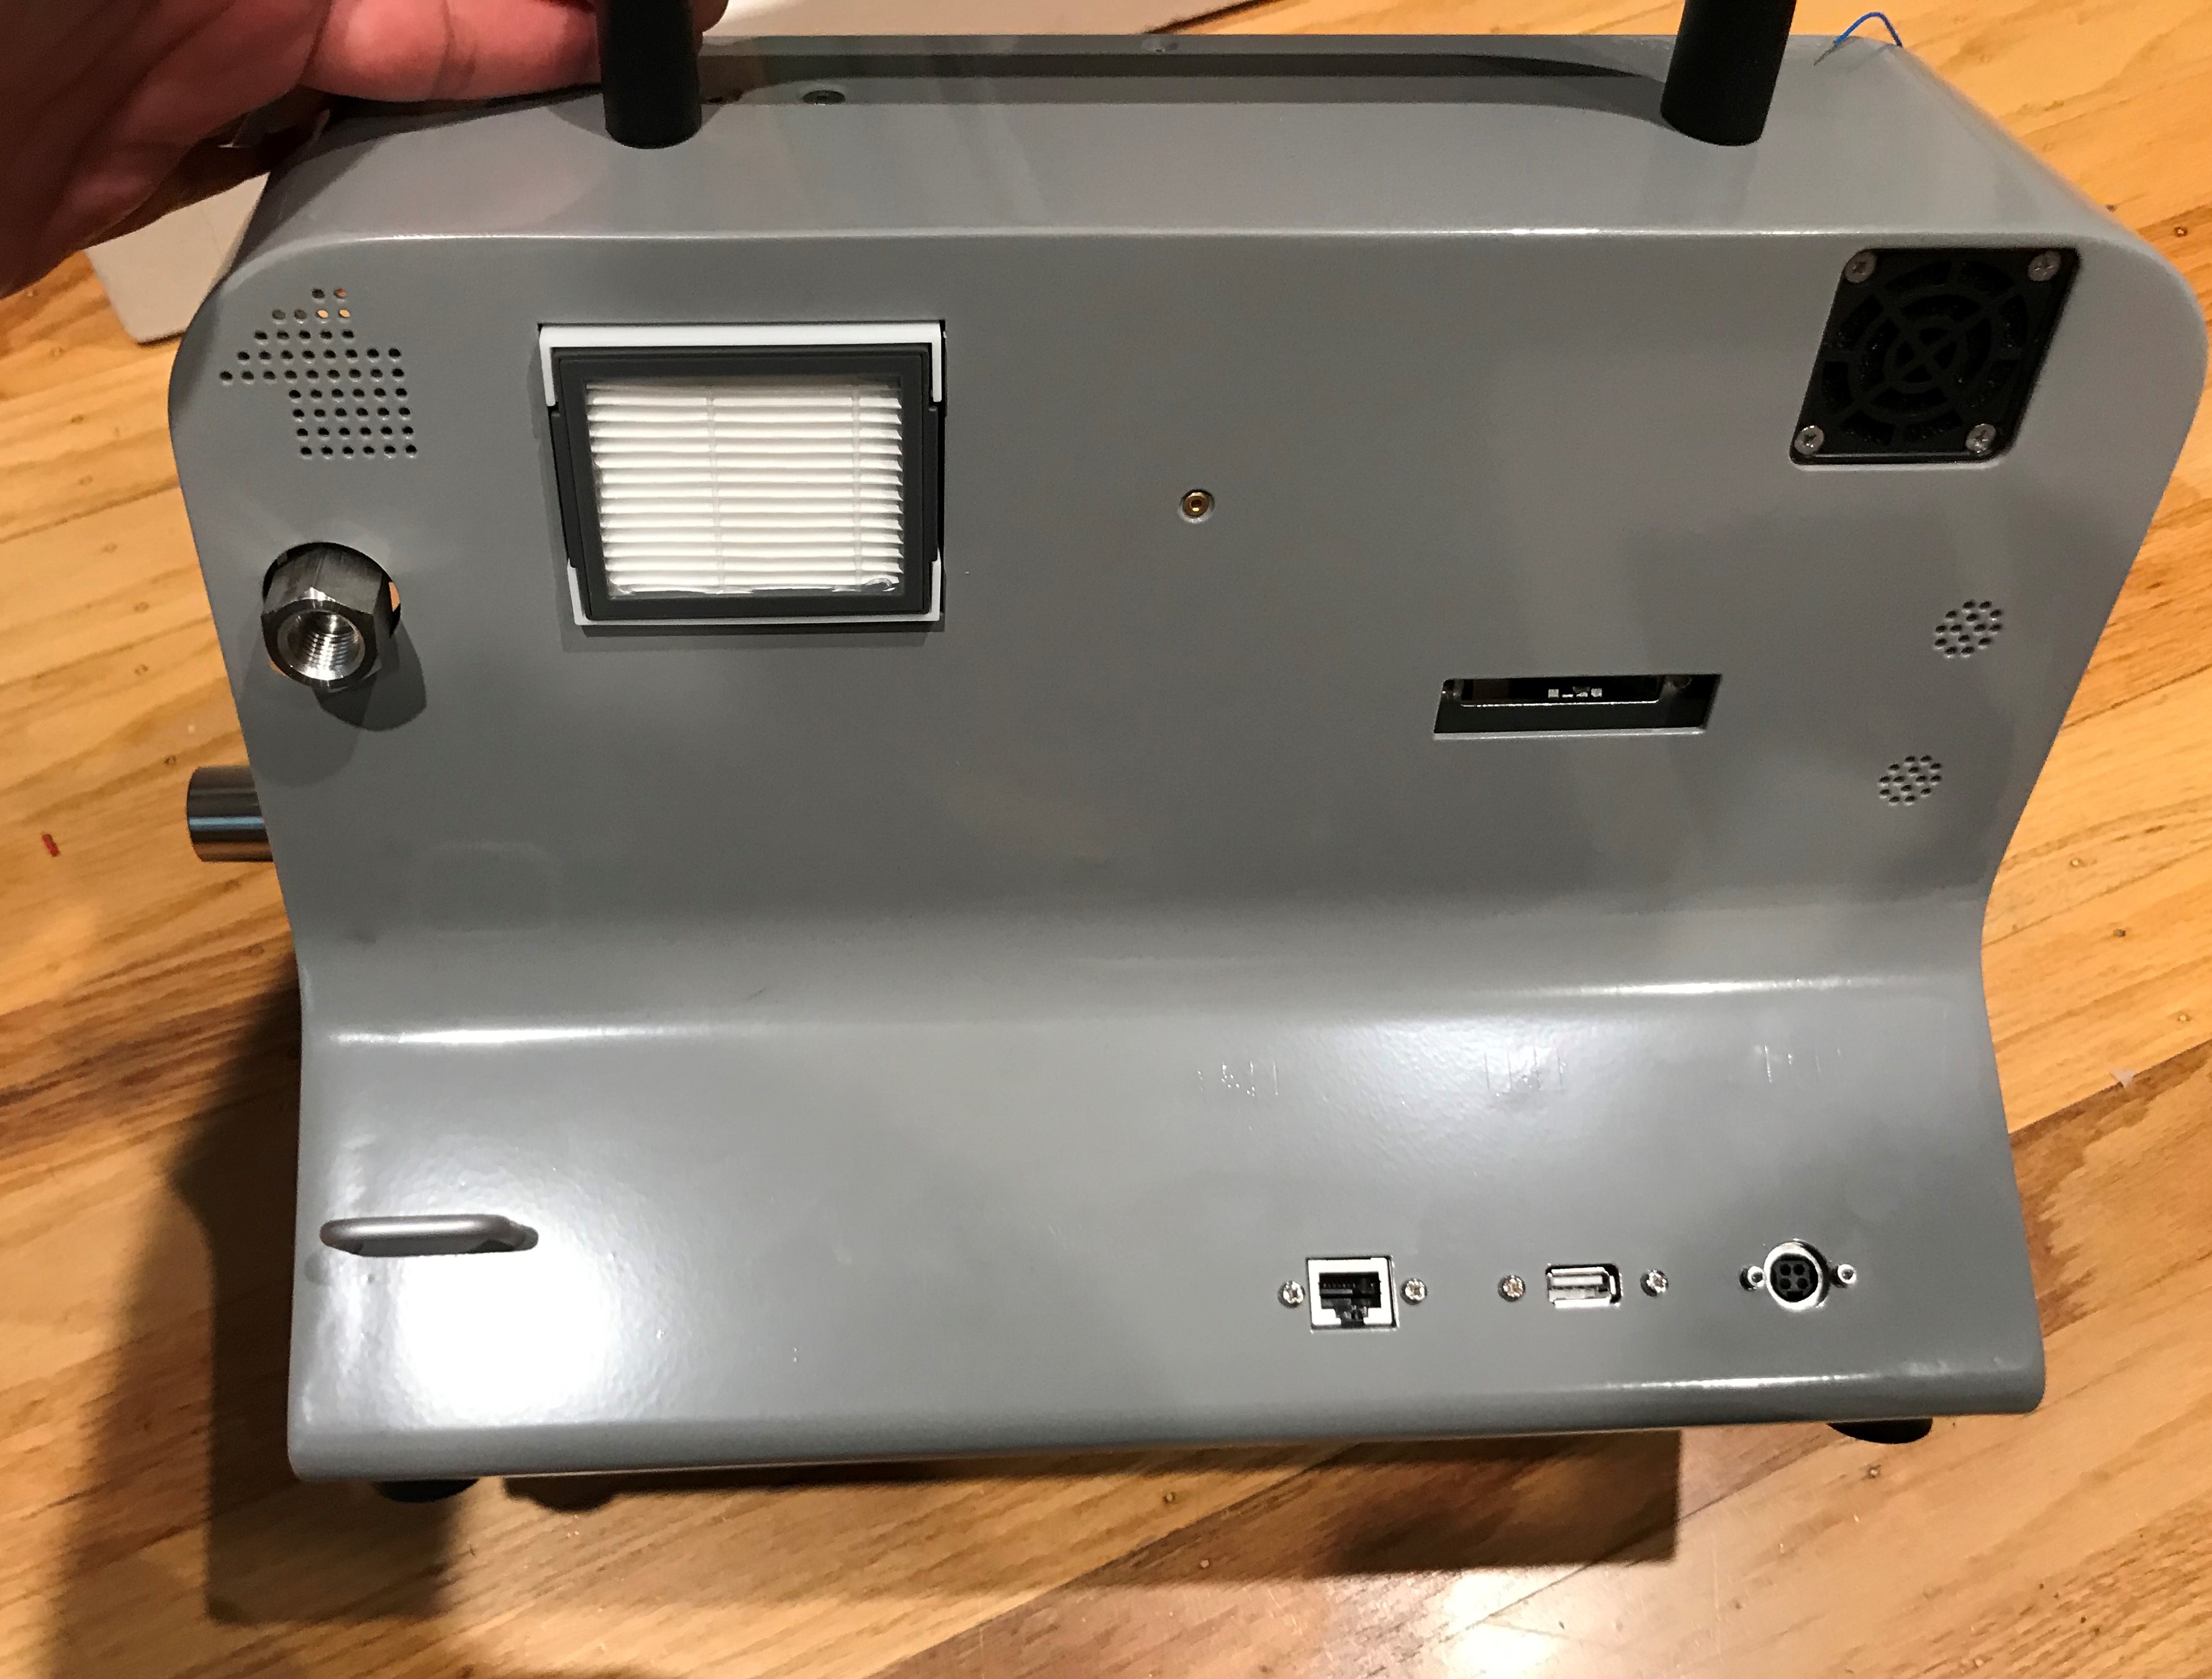
At this point, the rear of the ventilator looks like:
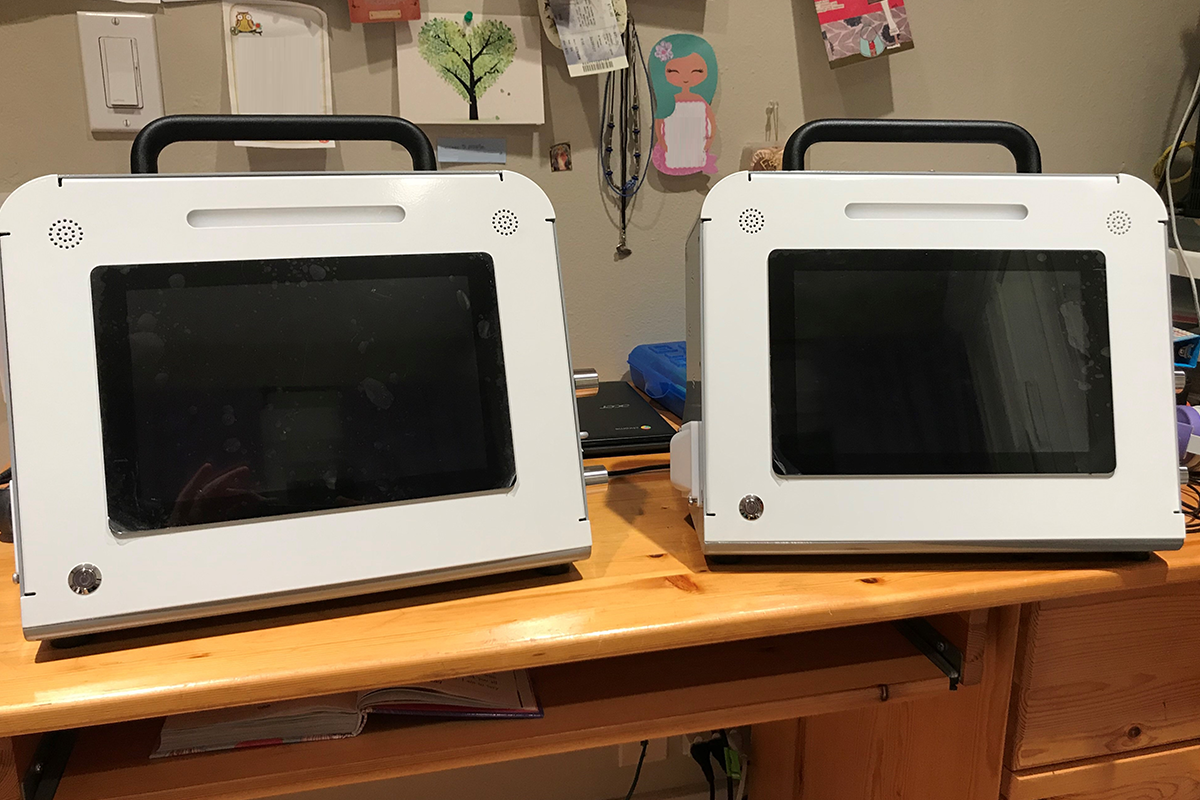
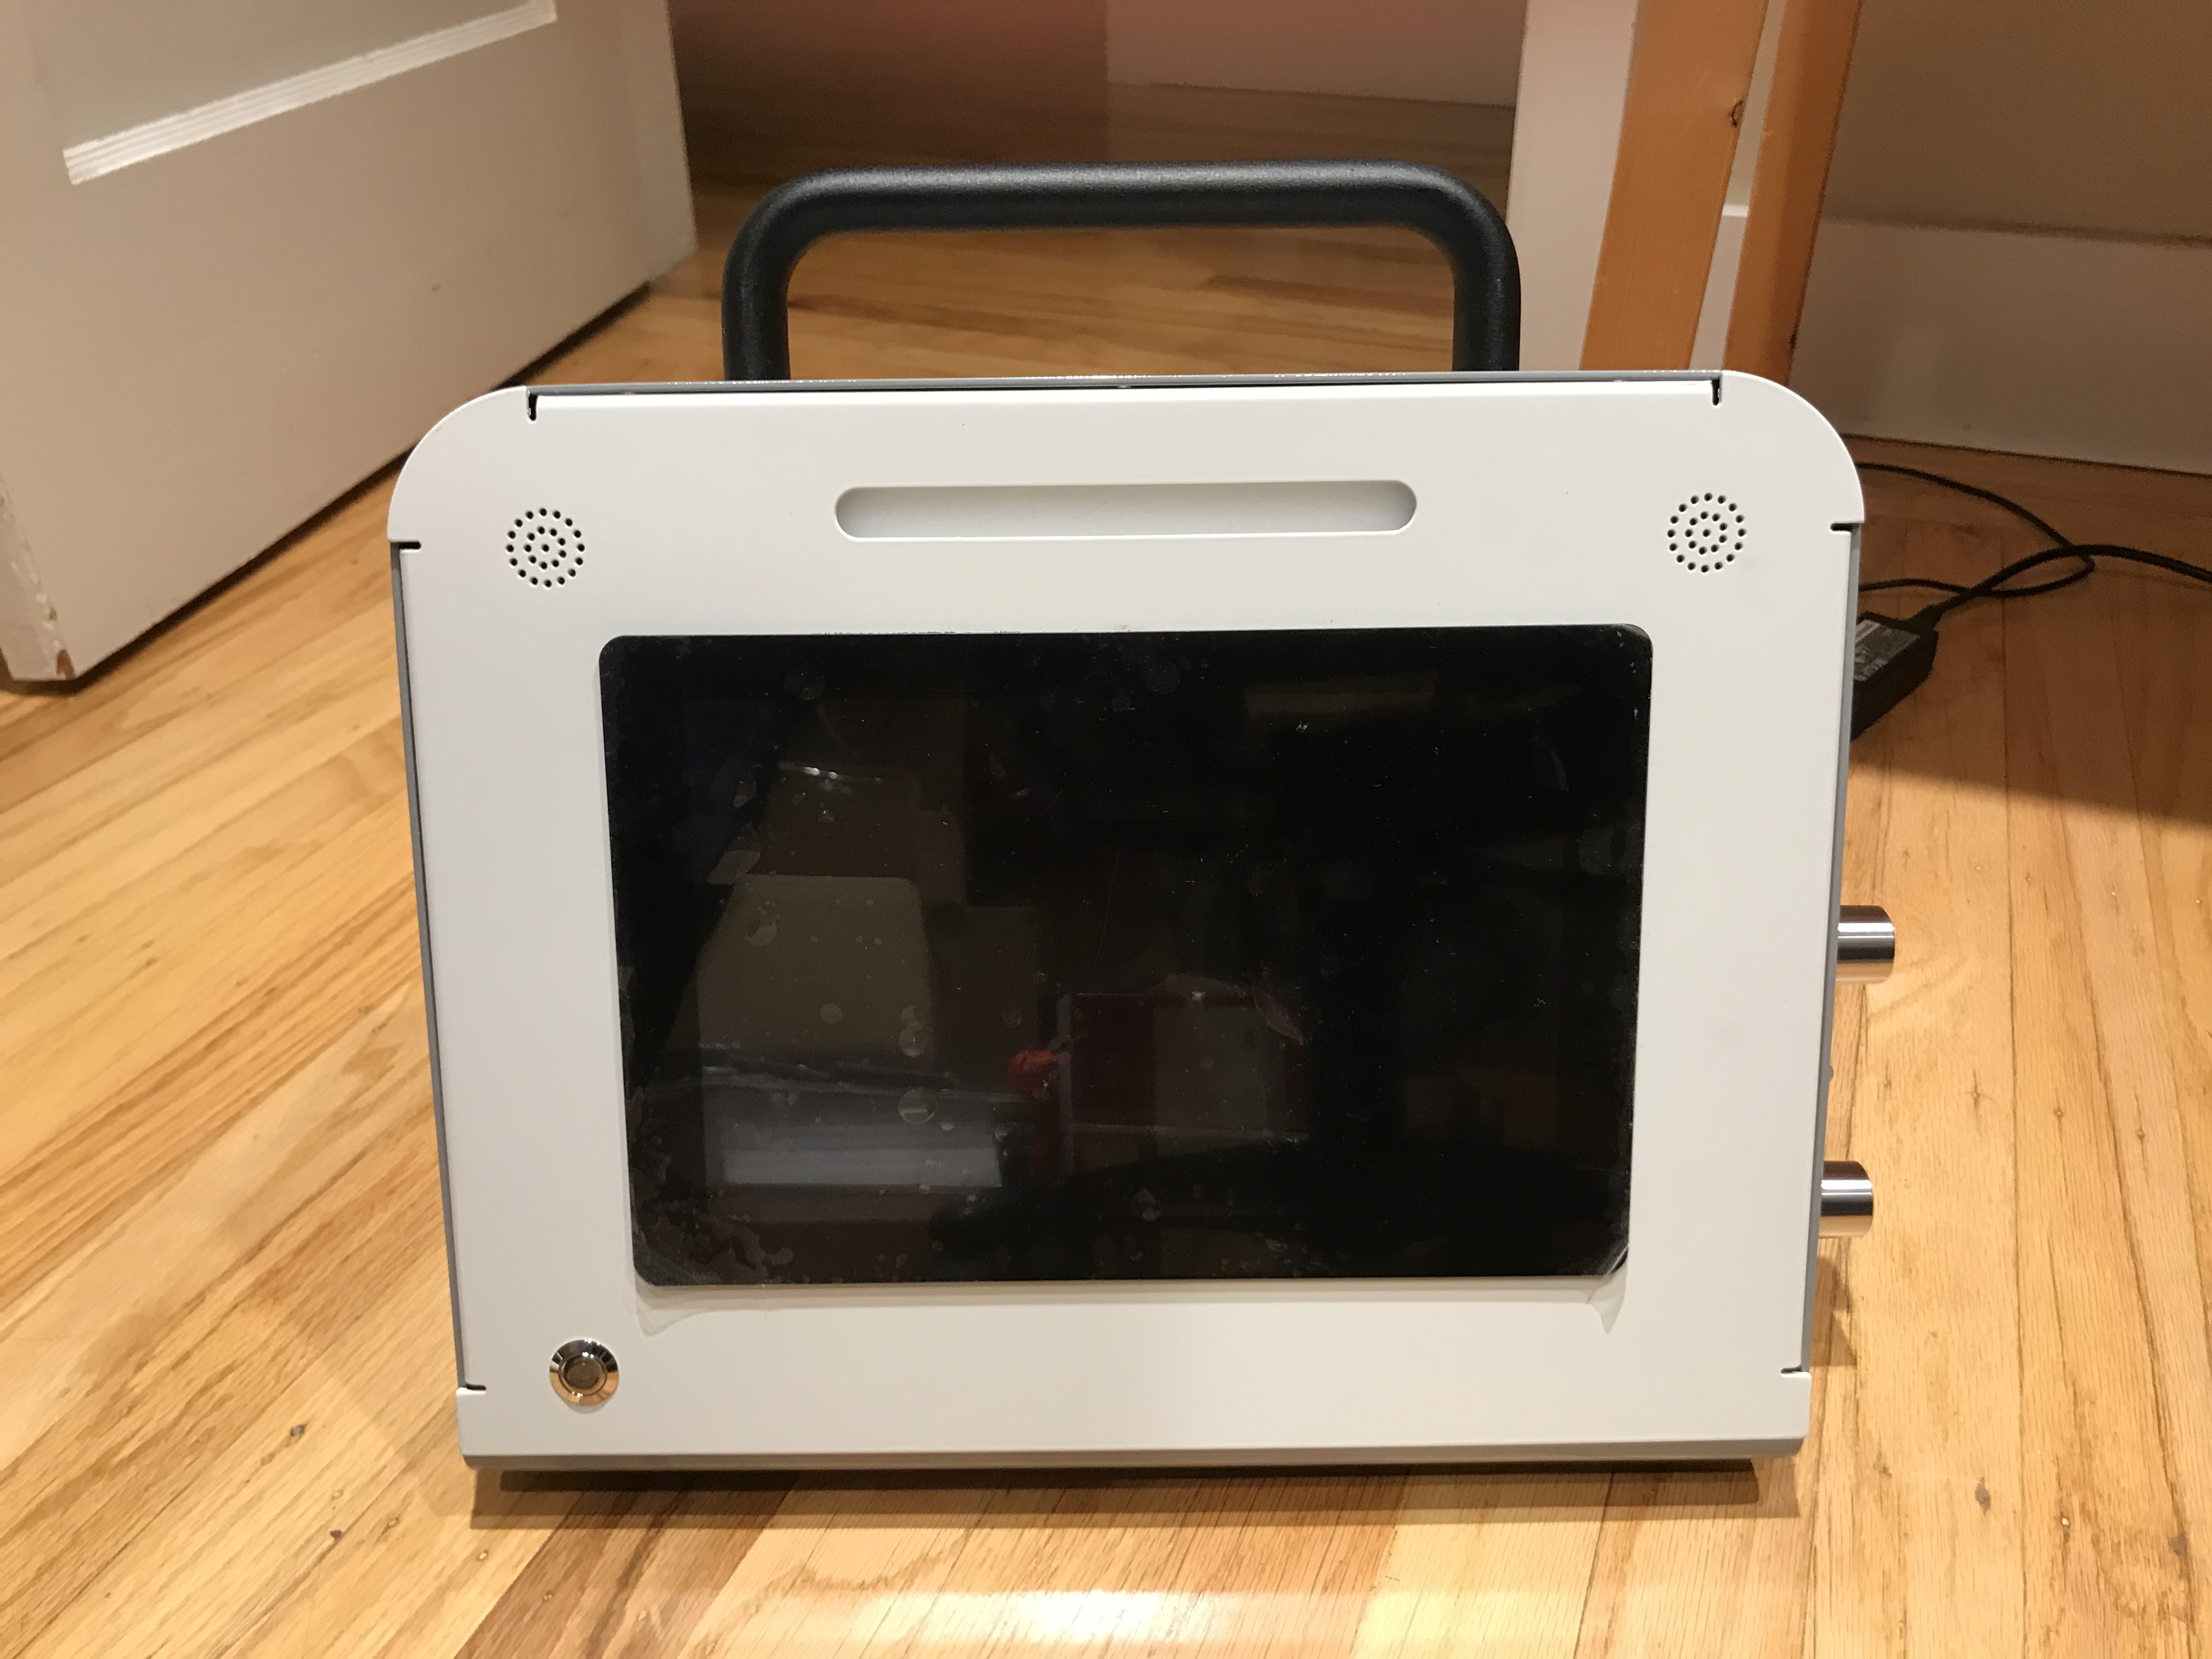
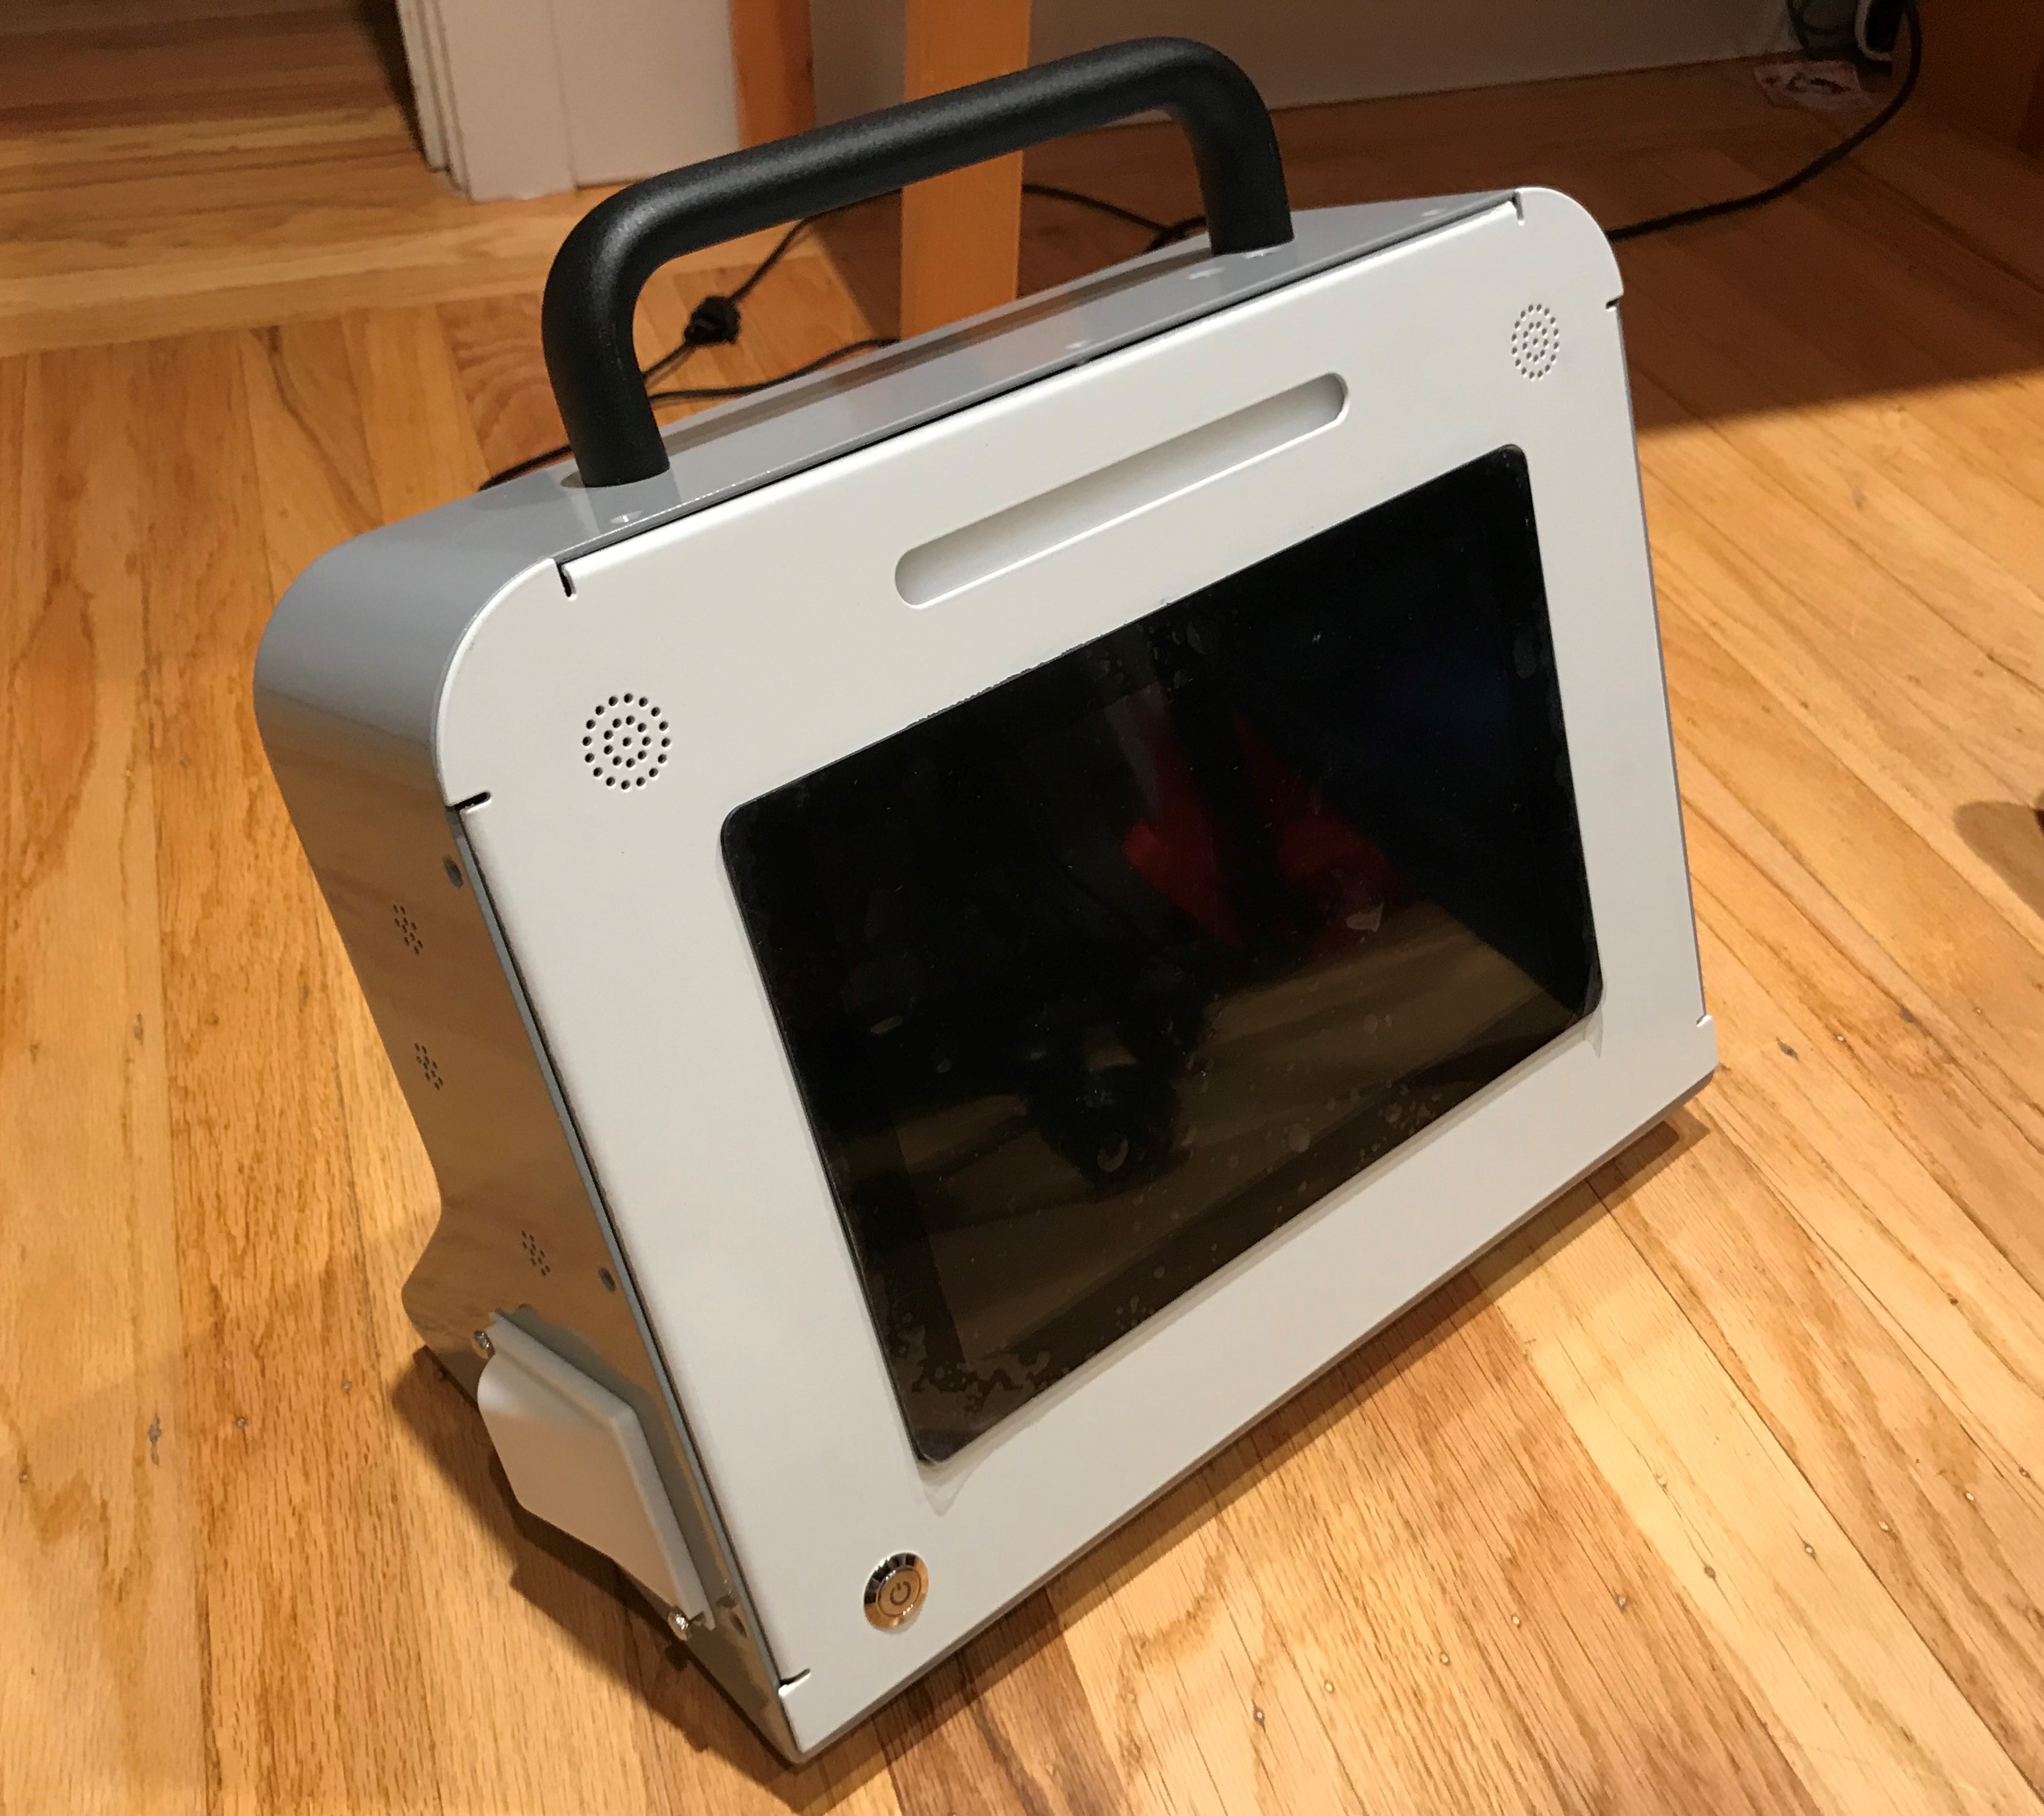
Finally, all that remains is to install the electronic PCBs (not shown), attach the LCD and speakers to the front cover, attach the front cover the ventilator, and voila! - you have a ventilator! Altogether, we are very pleased, as it has turned out to be one of the most very straightforward and intuitive product assembly processes we’ve seen on an advanced medical product! There are a handful of small improvements to make, but we are confident we can knock those out in a single minor iteration of the design. Check out the finished product, below! (BTW - the total ventilator weight came out to around 9 kg, close to what we predicted.)
So…. what’s next? Now comes the fun part… testing, testing, testing! We are in the process of migrating our software and electronics from the bench-prototypes to run on these machines. We should be able to demonstrate ventilation using these two prototypes within a week or two. In parallel, we are working on the mechanical and electrical design improvements for the next iteration, which we should be ready to build in January. If you like our work, and would like to help us bring ventilators to developing parts of the world, please consider supporting us. Thank you!